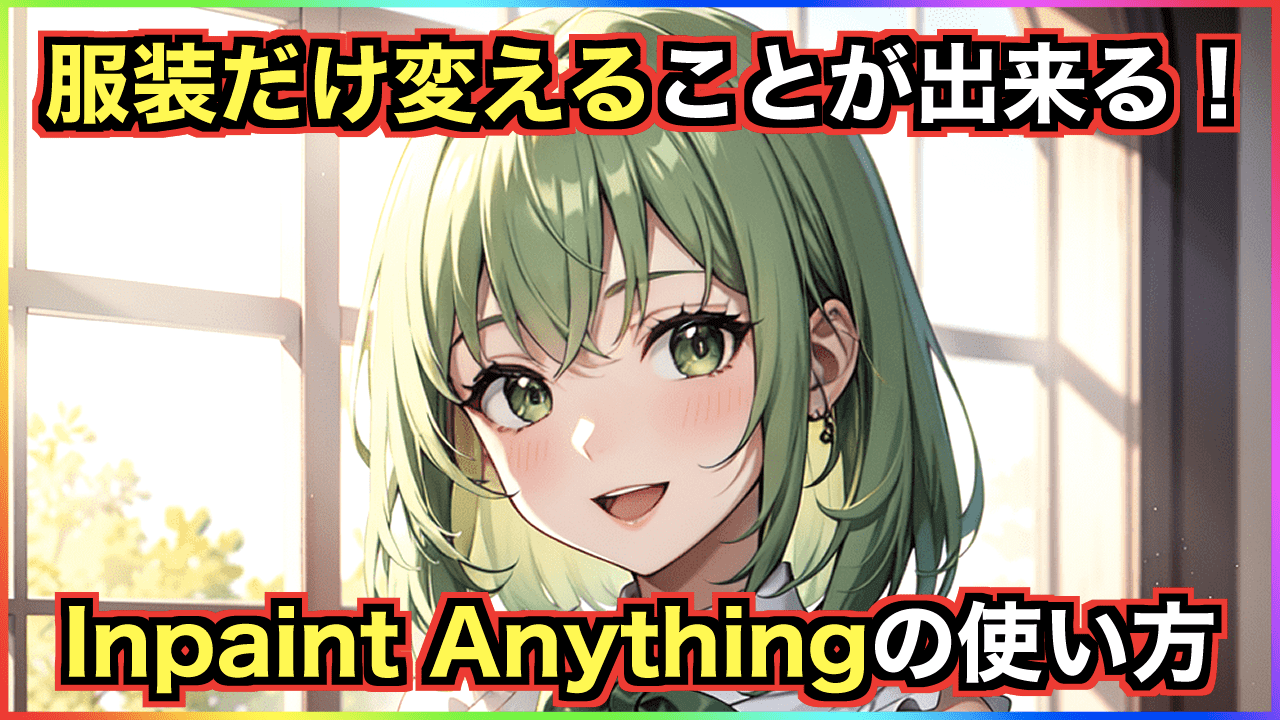
服装だけ変更したい!
Inpaint Anythingの使い方を教えて!
Inpaint Anythingでは、アップロードした画像の変更したい部位を指定することで、他の部分を変えずに変更することが出来るのでおすすめの拡張機能です。
Inpaintよりも綺麗に変更することが出来るので是非利用してみてください!
Inpaint Anythingでは「ControlNet」と「Inpaint」モデルが必要になります。
ControlNetとInapintモデルの導入方法については、こちらの記事で解説しているので分からない方は読んでください。
Inpaint Anythingの導入方法
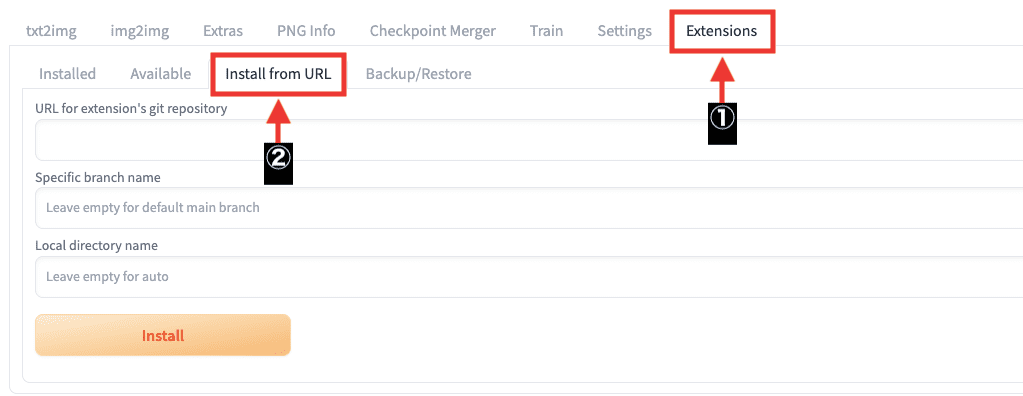
Inpaint Anythingの拡張機能を導入するには、「Extensions」をクリックしてから「Install from URL」を選択してください。
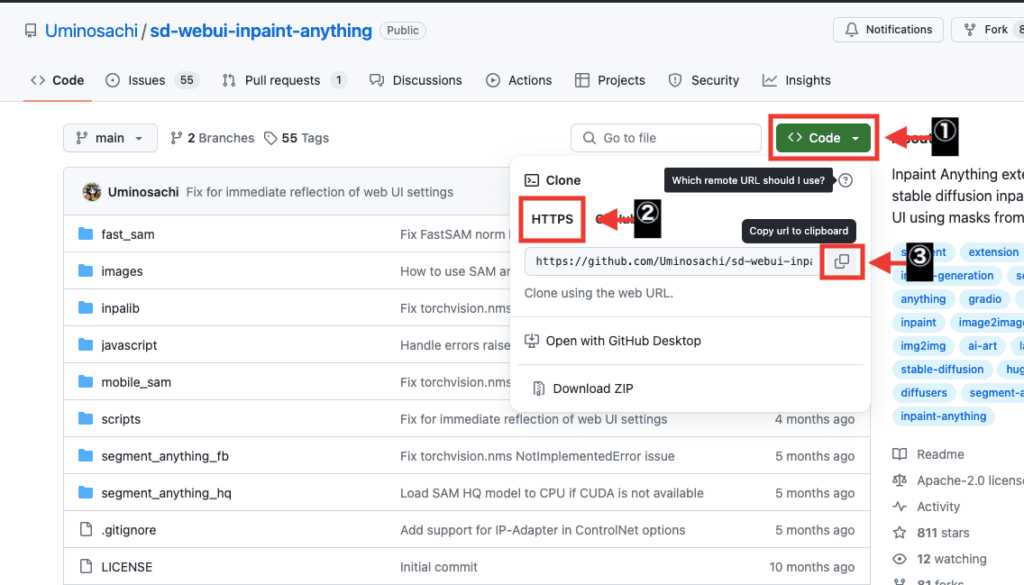
Inpaint Anythingが配布されている以下のリンクにアクセスしてください。
「Code」をクリックしてから「HTTPS」を選択してください。
表示されているURLの右側にあるアイコンをクリックしてURLをコピーしてください。
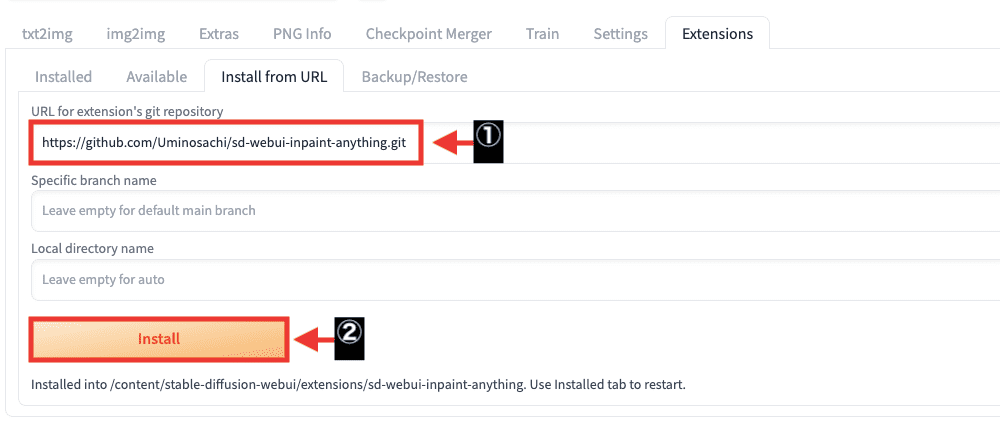
「URL for extension’s git repository」内にコピーした「https://github.com/Uminosachi/sd-webui-inpaint-anything.git」のURLをペーストしてから「Install」ボタンをクリックしてください。
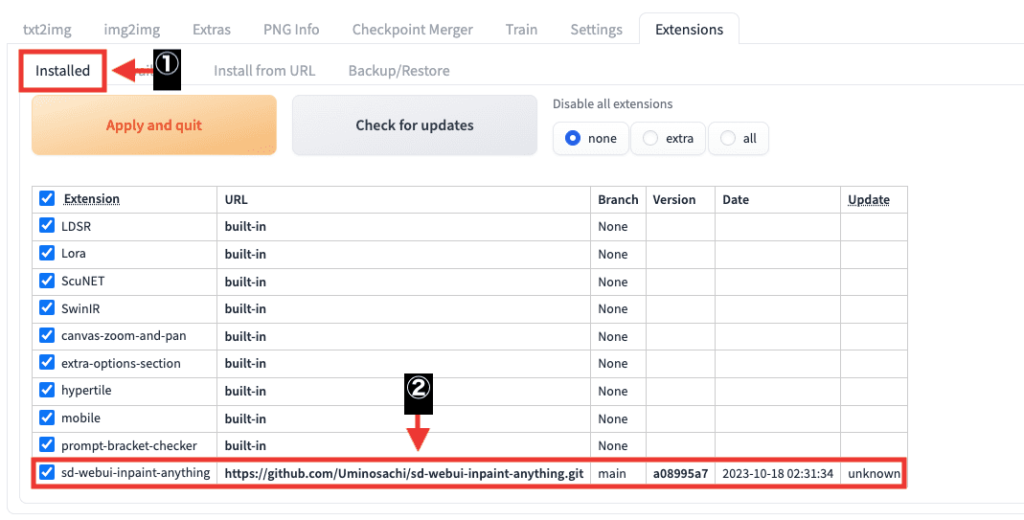
「Installed」をクリックしてから「sd-webui-inpaint-anything」がインストールされているか確認してください。
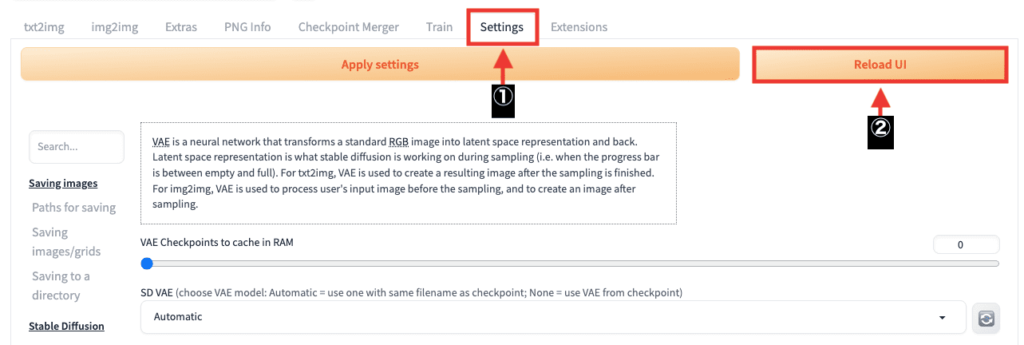
「Settings」をクリックしてから「Reload UI」ボタンを押してStable Diffusion Web UIを再起動すると導入完了です。
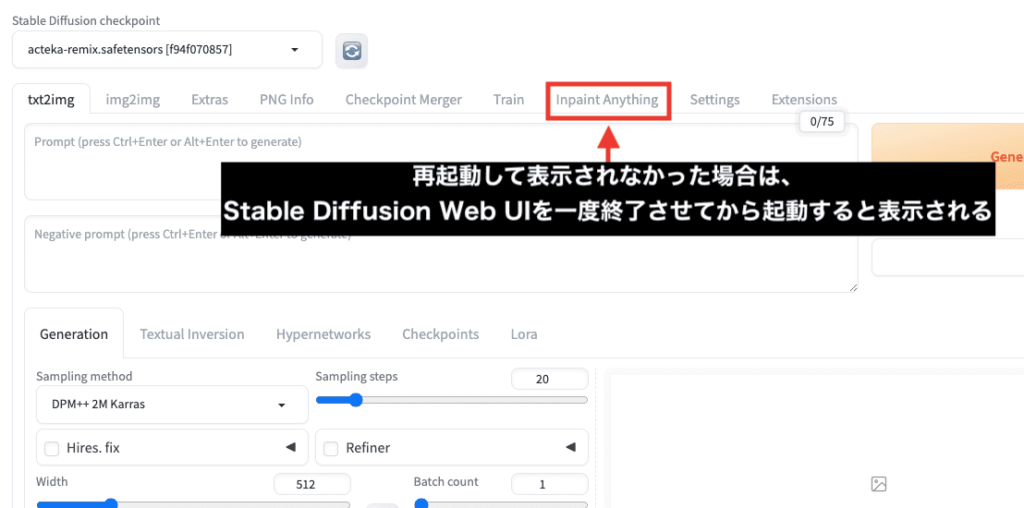
再起動しても「Inpaint Anything」が表示されない場合があります。
表示されなかった場合は、Stable Diffuison Web UIを一度終了させてから起動すると表示されます。
Inpaint Anythingの使い方
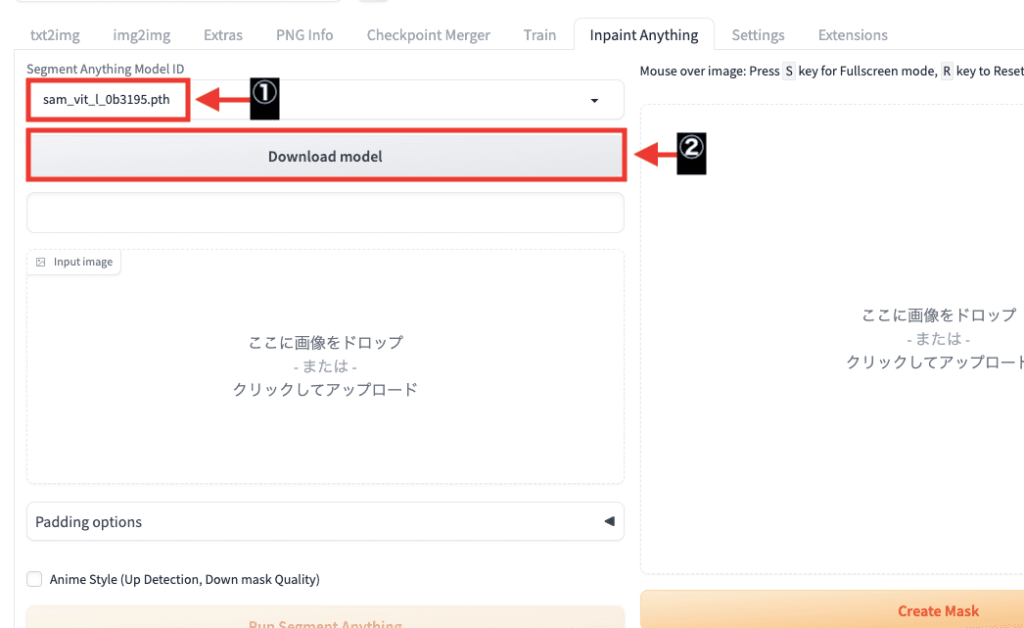
「Segment Anything Model ID」からモデルを選択してから「Download model」をクリックしてください。
この例では、「sam_vit_l_0b3195.pth」を選択しています。
「Input Image」内に画像をアップロードしてから「Run Segment Anything」ボタンをクリックすることで、各部位に色分けされた画像が表示されます。
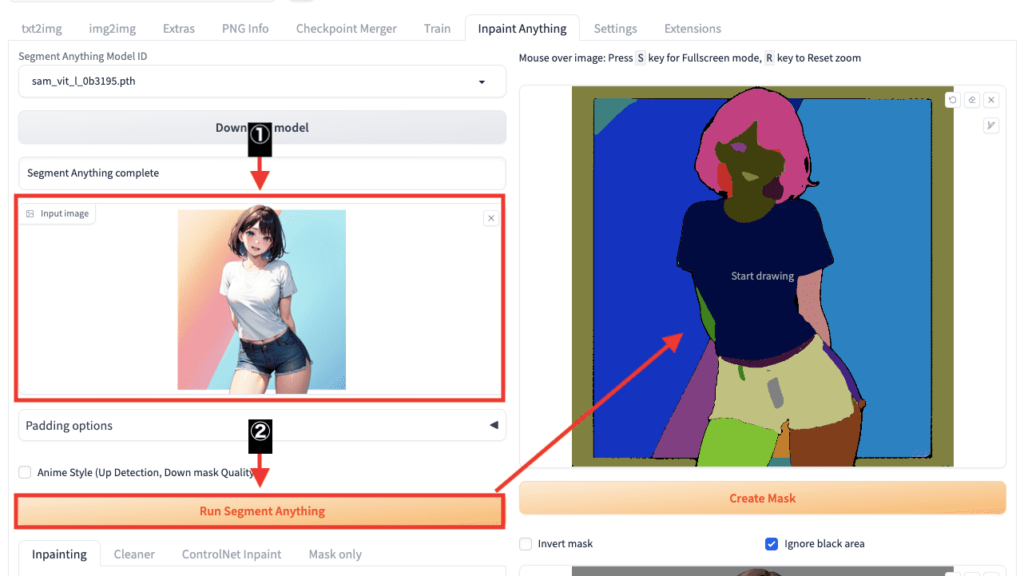
服装内を少しだけ黒く塗って指定してから「Create Mask」ボタンをクリックしてください。
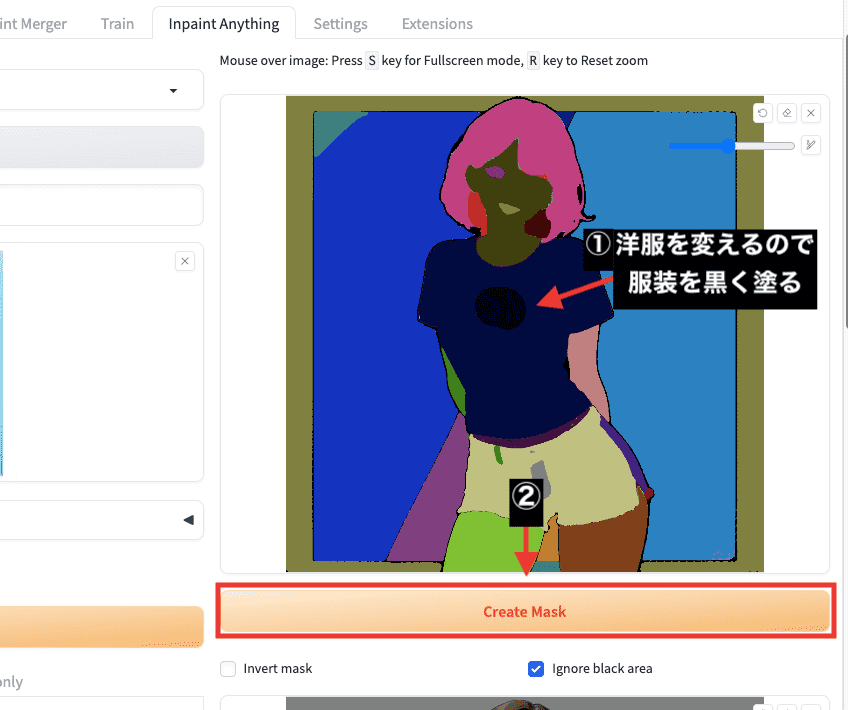
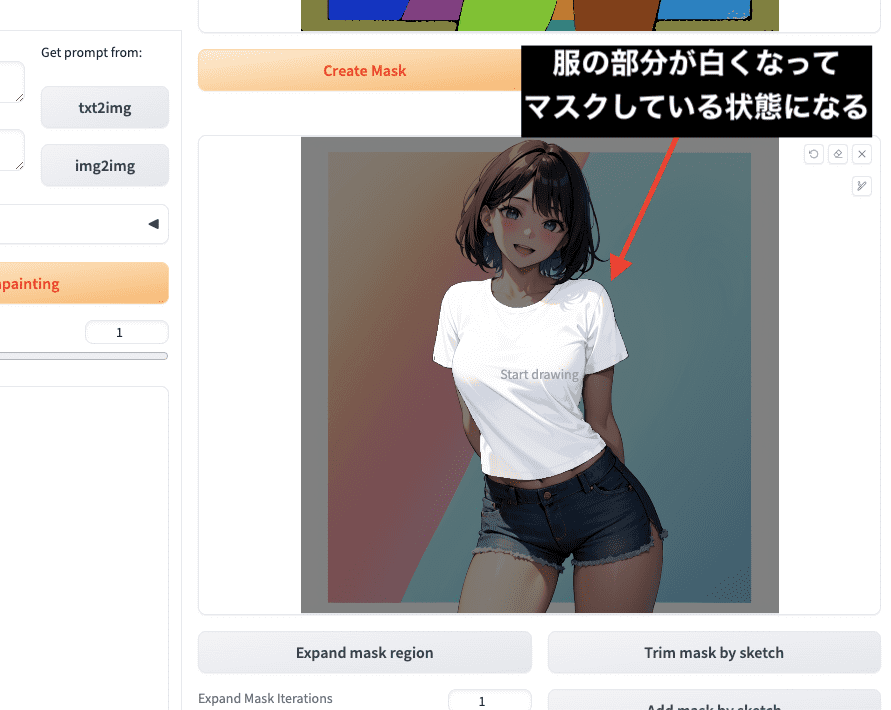
下にスクロールすると、服の部分が白くなってマスクしている画像が表示されます。
「Inpainting」項目をクリックしてから「Inpainting Prompt」内に変更する服装を入力してください。
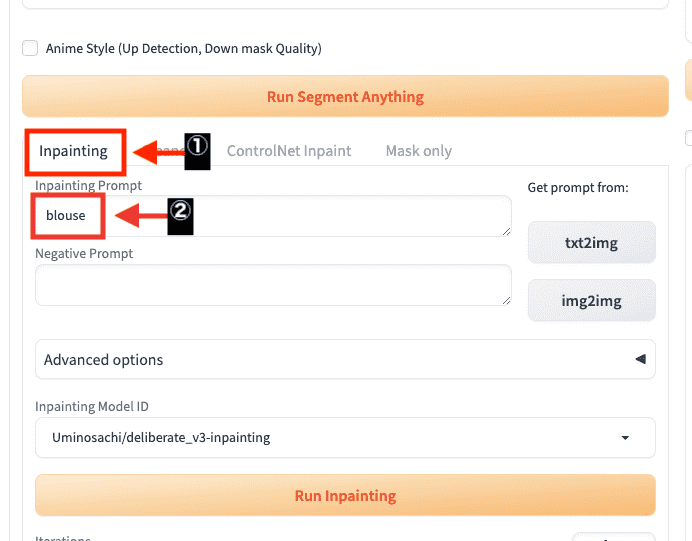
「Mask area Only」にチェックを入れてください。
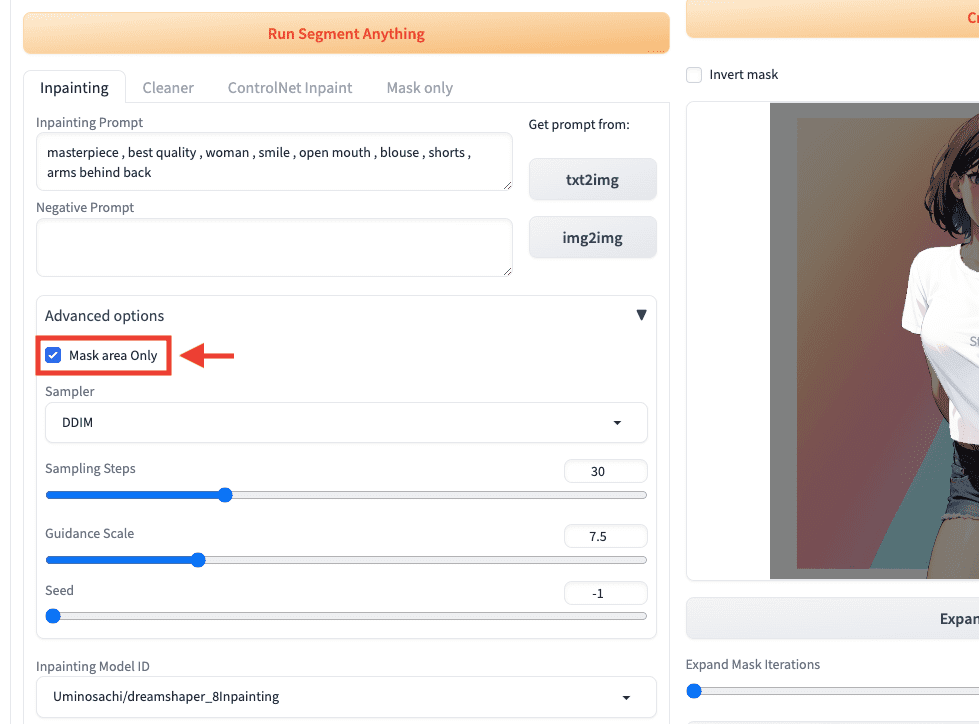
「Samper」「Sampling Steps」「Guidance Scale」をお好みで設定してください。

「Inapinting Model ID」はモデルによって画風が変わります。
「Run Inpainting」ボタンをクリックすることで、服装を変更した画像生成をすることが出来ます。
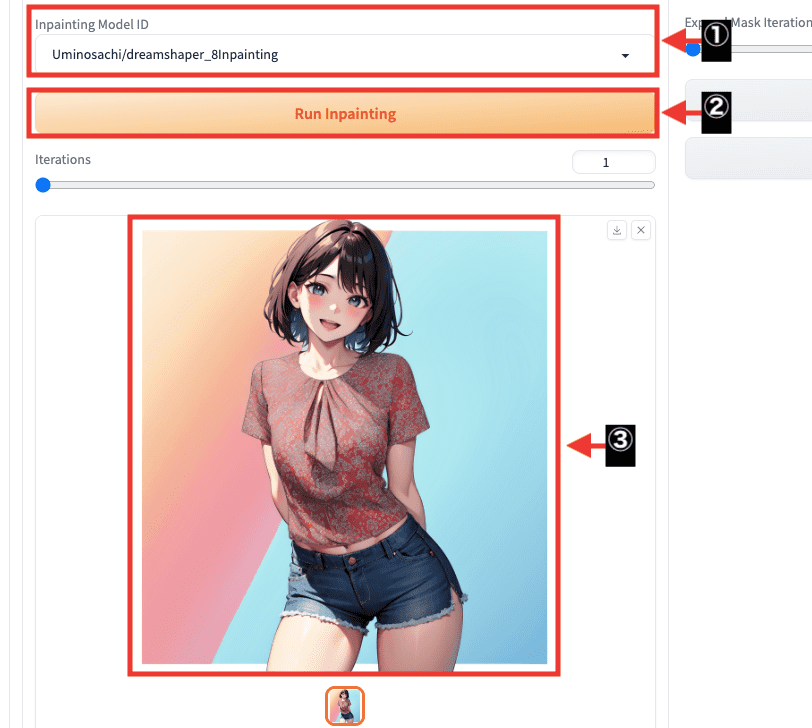
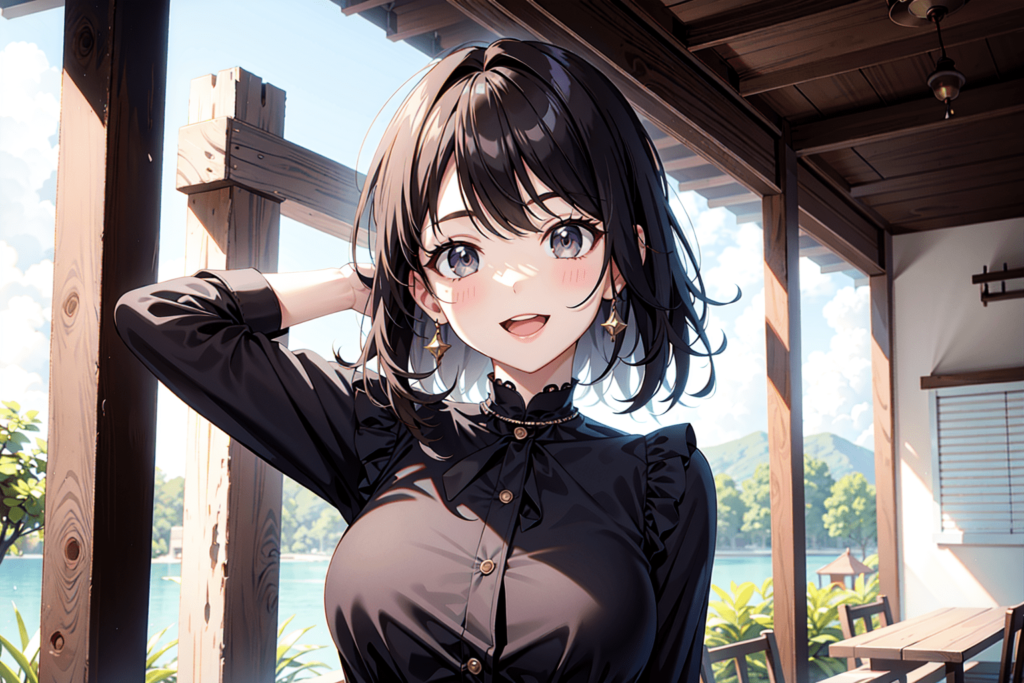
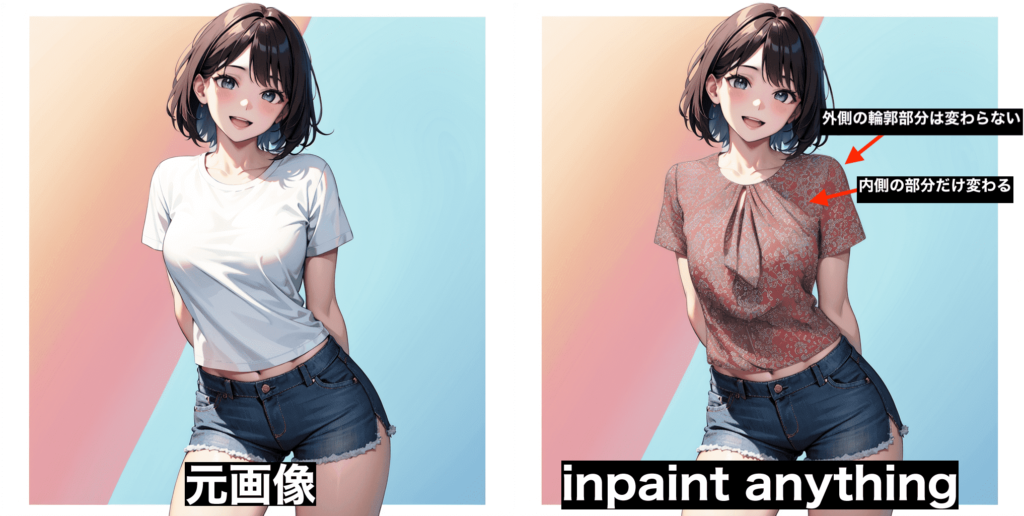
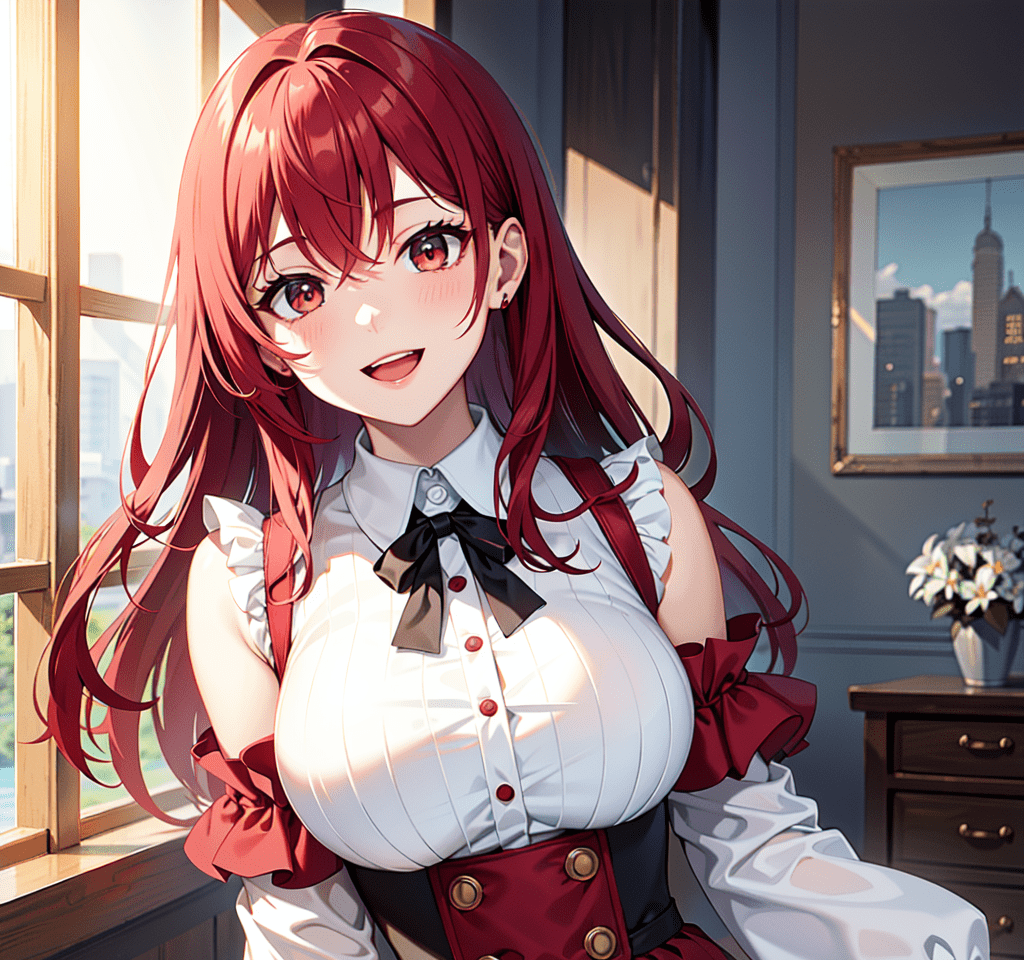
以下は生成した比較結果になります。
このようにInpaint Anythingを使用すると服装だけ変えることが出来ます。
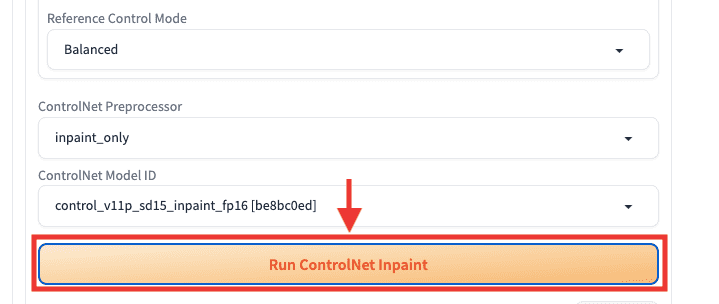
ControlNetを使用して変更する場合は、「ControlNet Inpaint」をクリックしてください。
ControlNetが導入されていない場合は何も表示されません。
「Inpainting Prompt」内に変更する服装の呪文を入力してください。
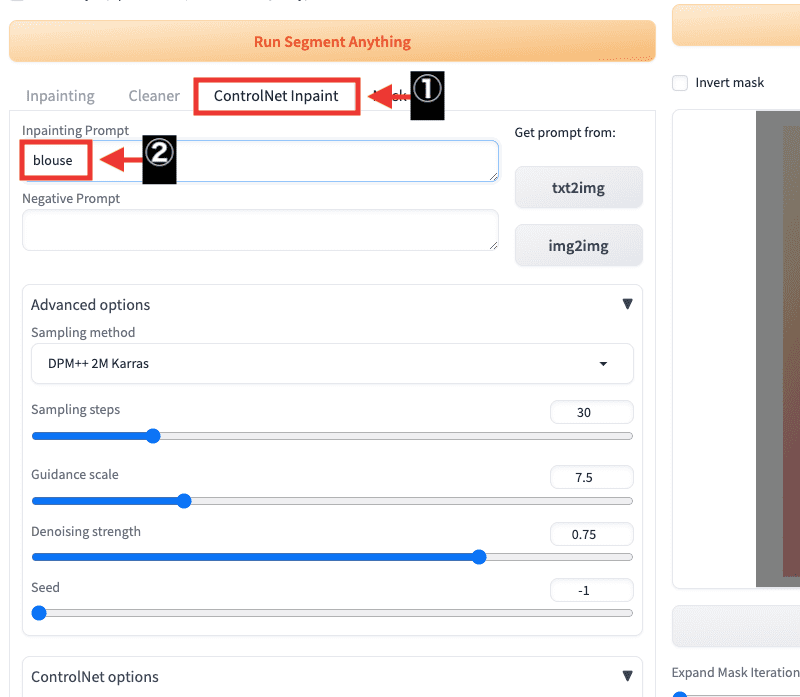
「Run ControlNet Inpaint」ボタンをクリックすると服装だけ変えて生成することが出来ます。
まとめ
Inpaint Anythingの使い方について解説しました。
Inpaint Anythingを使用することで
特定の部位だけ変えて画像生成することが出来ます。
Inpaint機能と似ていますが
拡張機能のInpaint Anythingの方が、より特定部分を綺麗に変更できるのでおすすめです!
ぜひ参考にしてInpaint Anythingを試してみてください!