動画生成したい!
Decohereの使い方を教えて!
Decohereは、テキストから動画生成をすることが出来たり、画像から動画生成をすることが出来ます。
それだけでなく生成した動画を使用して動画編集することも可能です。
この記事ではDecohereの使い方について解説します。
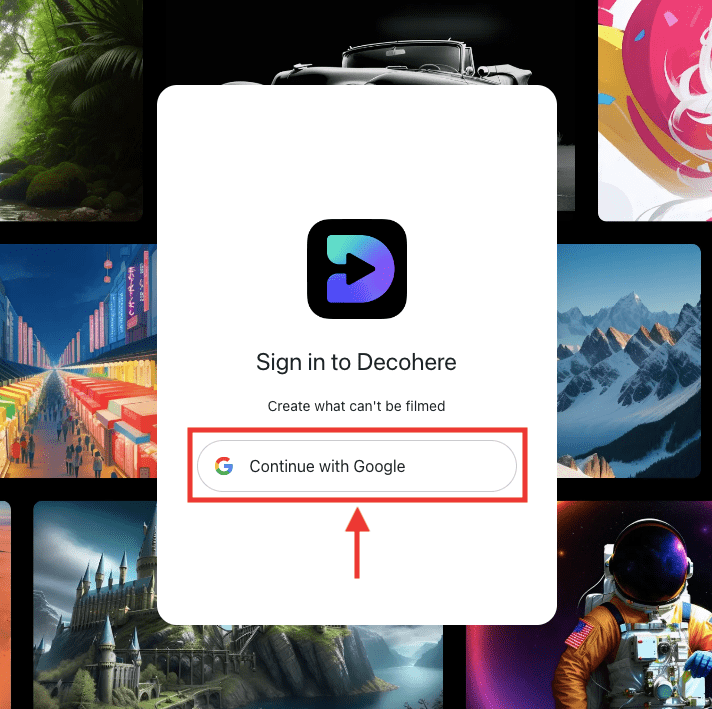
ログインする
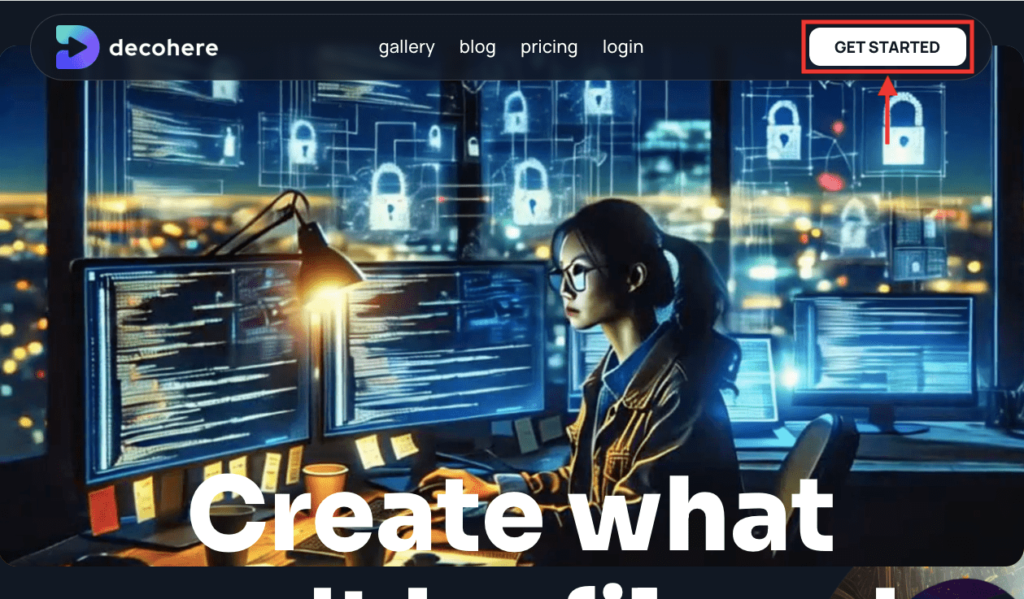
以下のリンクからDecohereのサイトにログインしてください。

右上にある「GET STARTED」をクリックしてください。
Googleアカウントを使用してログインしてください。
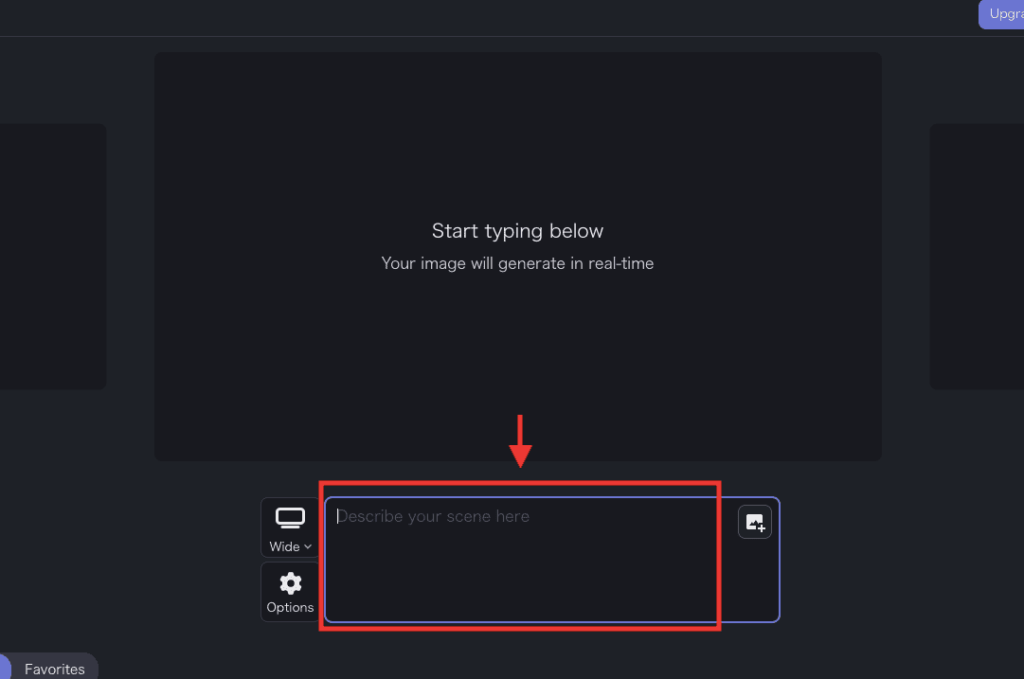
テキストから動画生成する方法

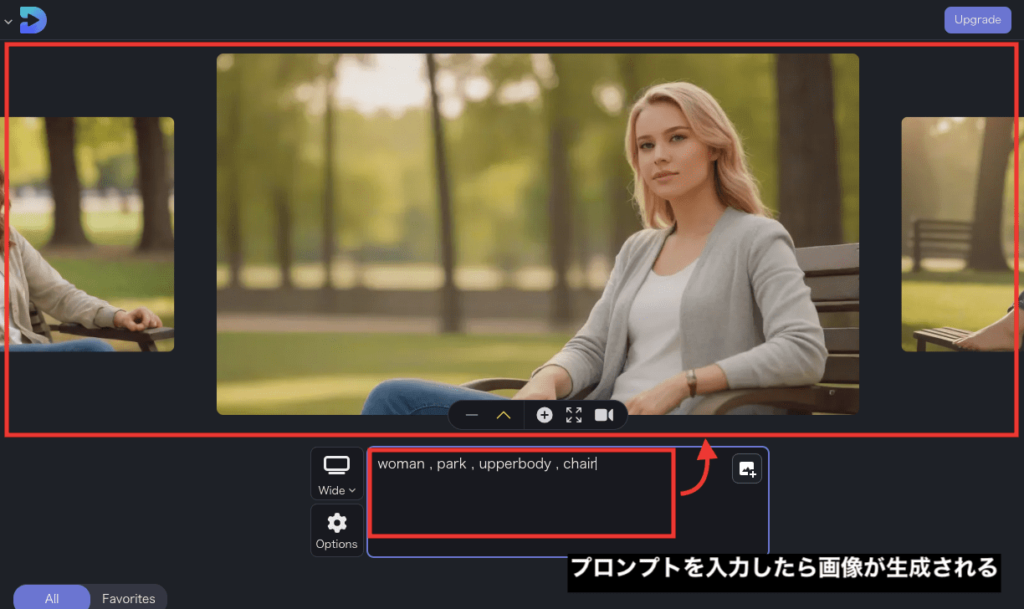
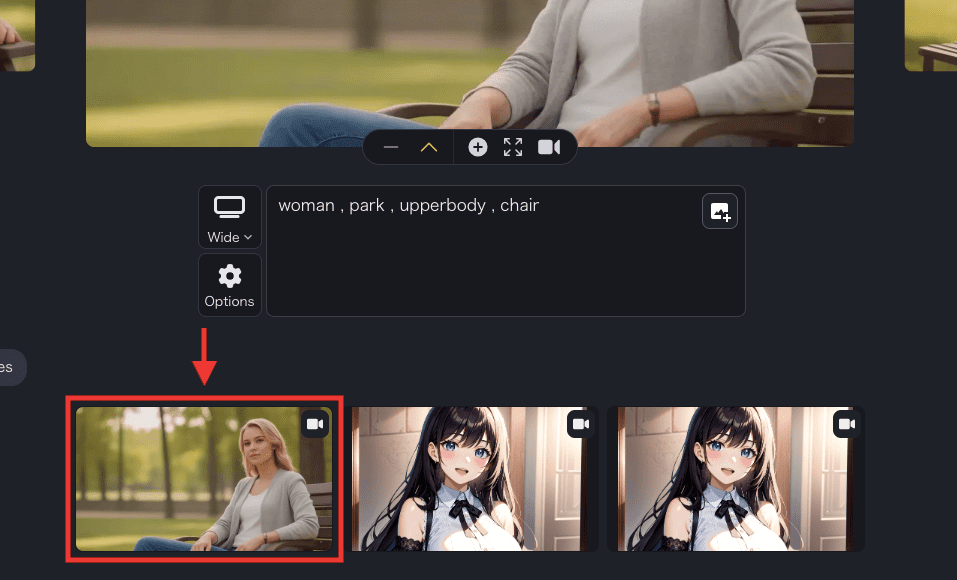
「Describe your scene here」と書かれた場所の中に、動画生成して欲しい言語・単語を入力してください。
入力したら画像が生成されます。
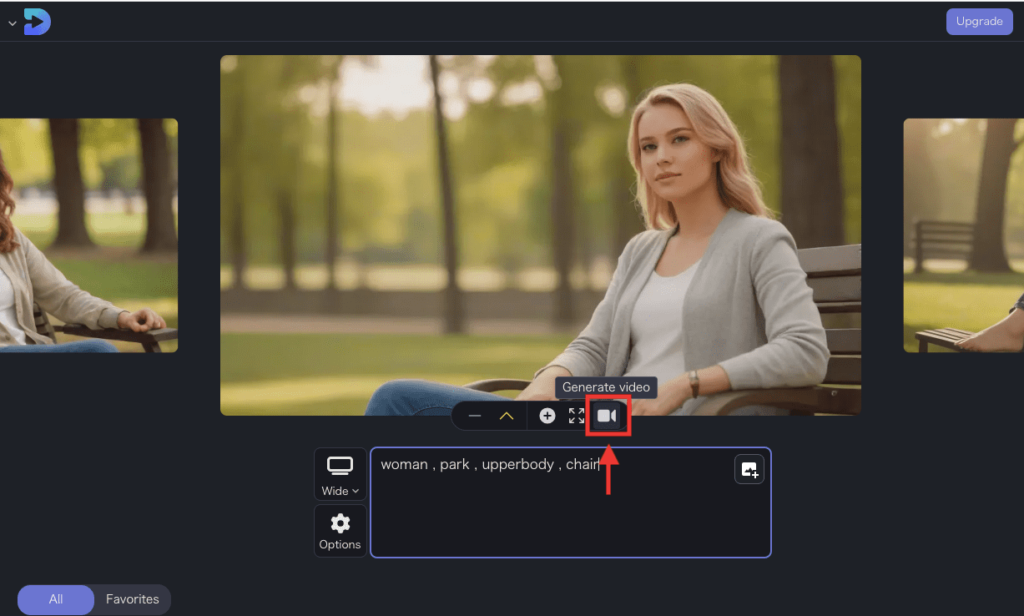
「Generate video」をクリックすると動画生成することが出来ます。
動画生成されると下部に動画が表示されるので、クリックすることで動画内容を確認することが出来ます
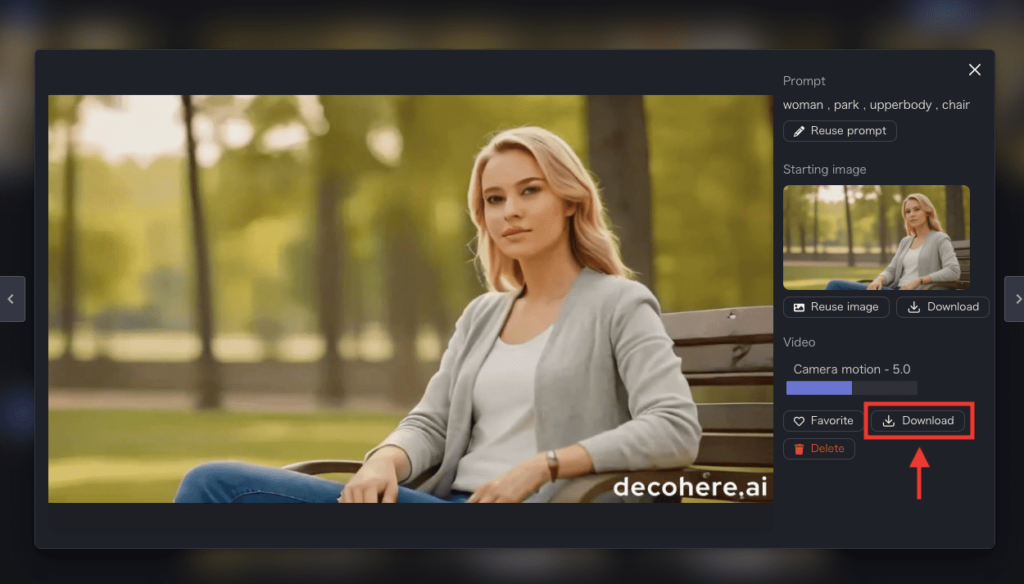
右側にある「Download」ボタンから動画を保存することが出来ます。
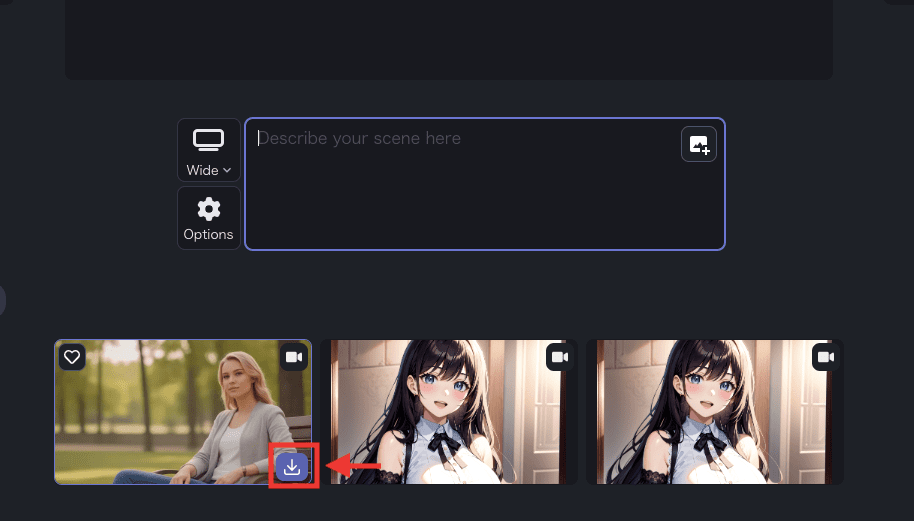
右下にあるダウンロードアイコンをクリックしても動画を保存することが出来ます。
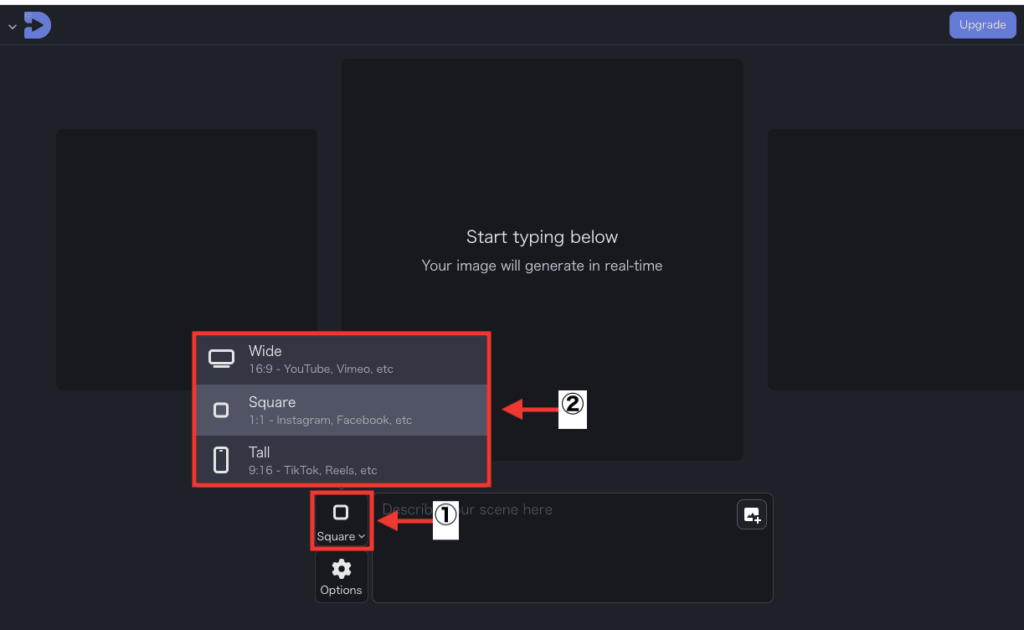
プロンプト入力場所の左上をクリックすると、動画のアスペクト比率を変更することが出来ます。
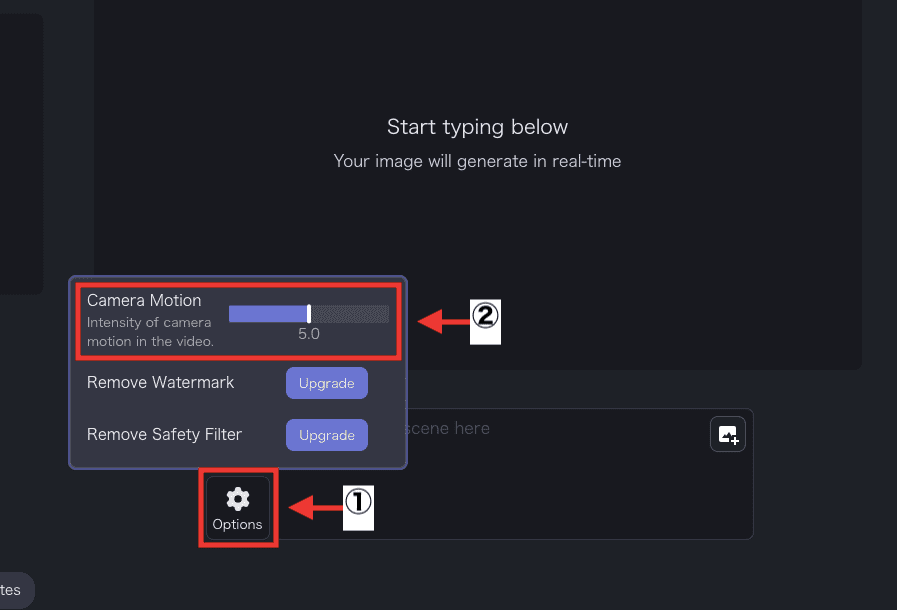
「Options」をクリックすると「Camera Motion」があります。
数値を小さくするほどカメラの動きが少なくなり、大きくするほどカメラの動きも大きくなります。
画像から動画生成する方法
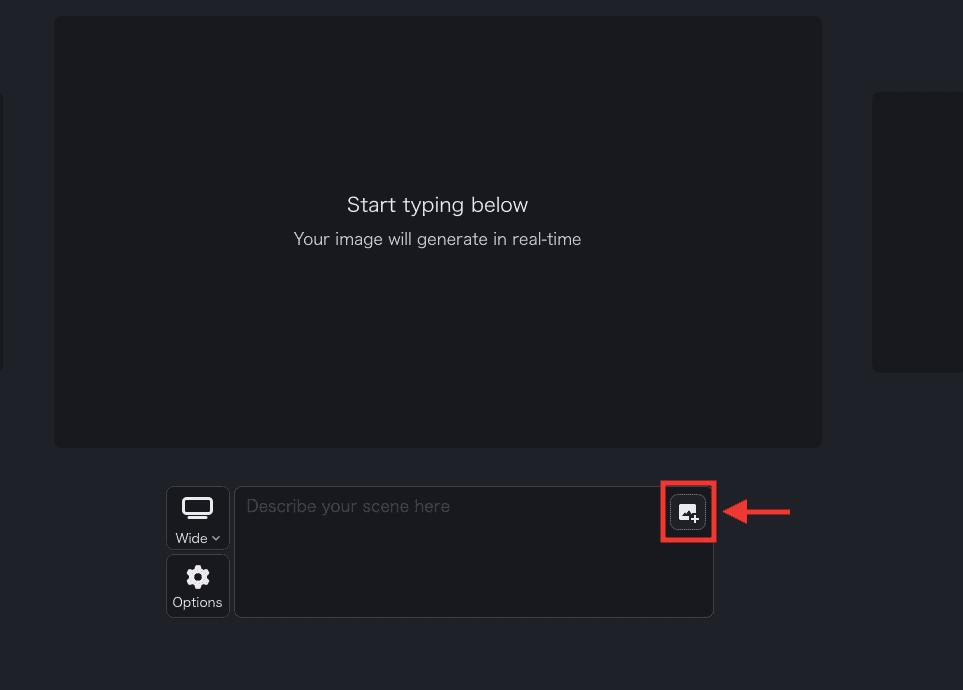
プロンプト入力場所の右上にある画像アイコンをクリックすることで、画像から動画を生成することが出来ます。
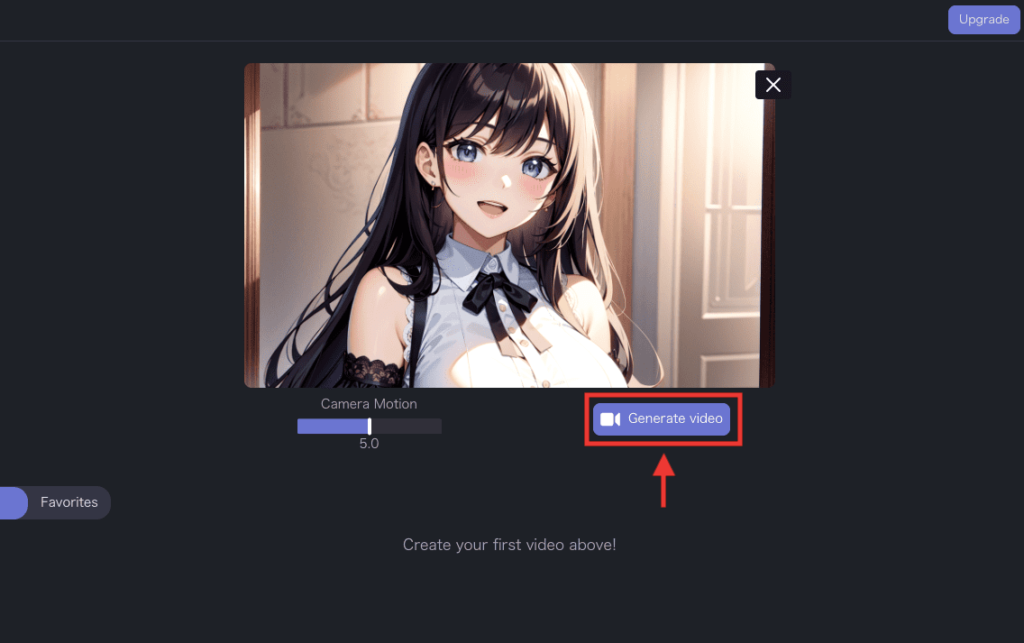
画像をアップロードしたら「Generate video」をクリックすると動画生成できます。
左側にある「Camera Motion」の数値は「2」くらいの設定にすると良い感じに生成することが出来ます。
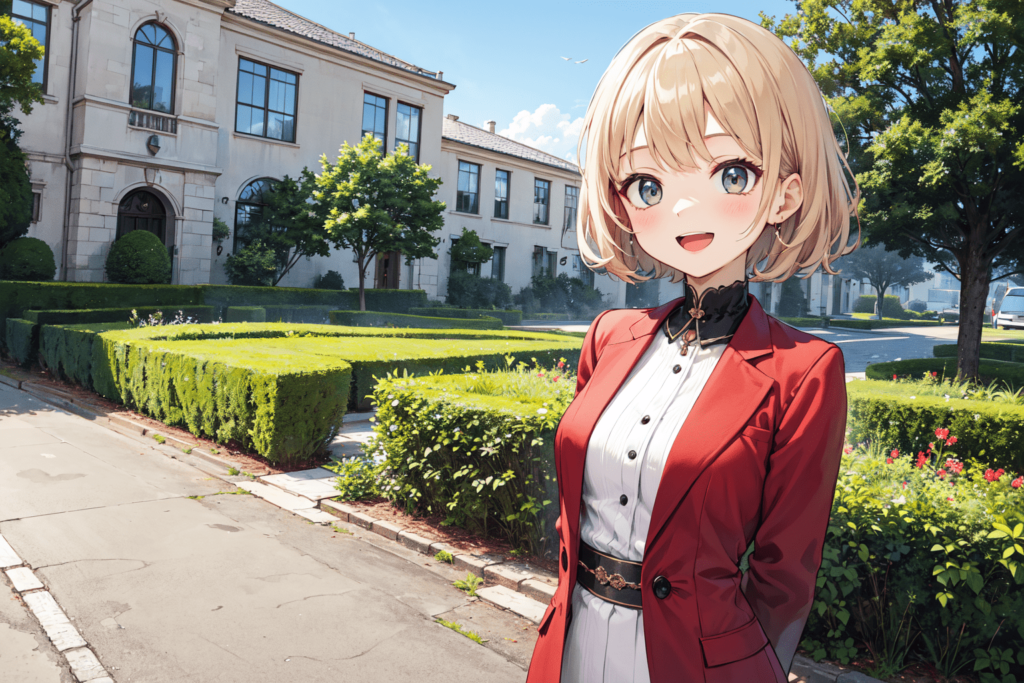
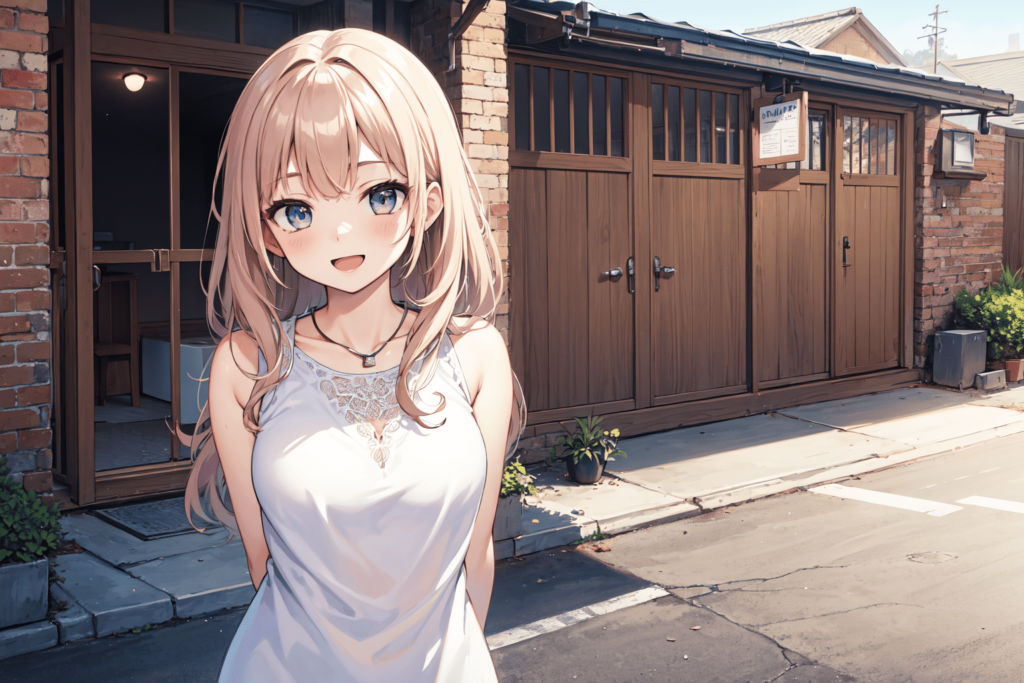
以下は生成した結果になります。
動画編集する方法

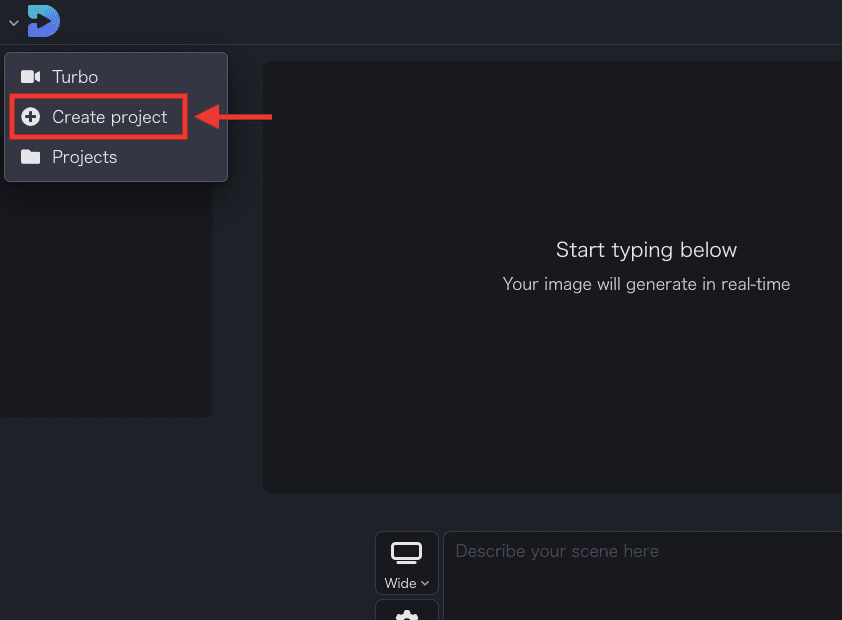
左上にあるDecohereのアイコンをクリックしてから「Create project」を選択すると動画編集することが出来ます。
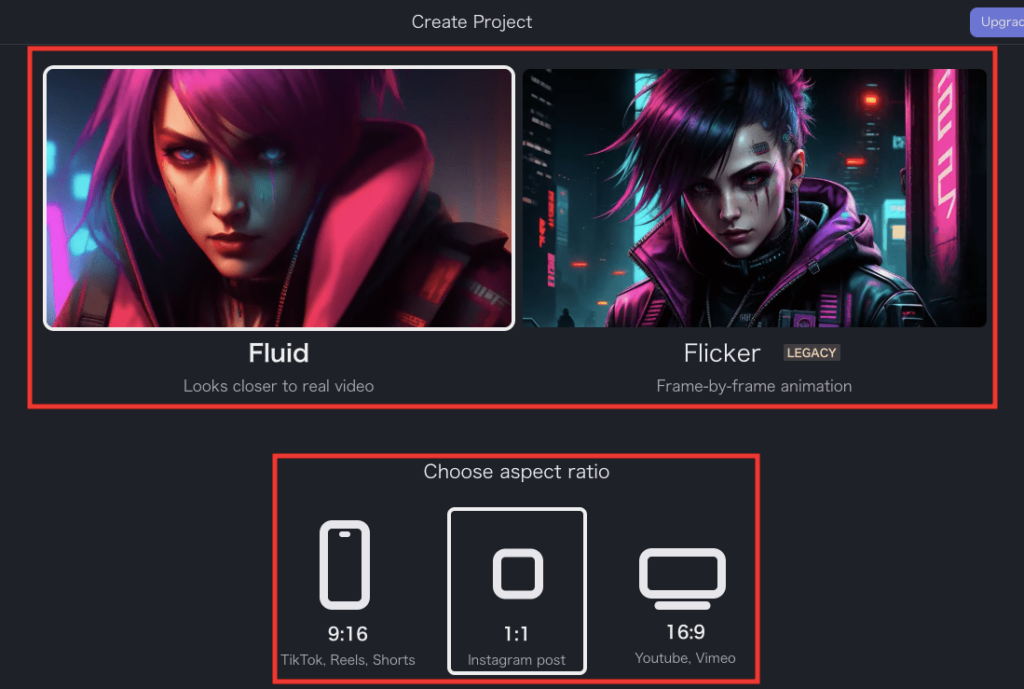
「Fluid」か「Flicker」を選択してください。
この例では「Fluid」を選択しています。
それぞれ動画編集のスタイルが違うのでどちらも試してみてください。
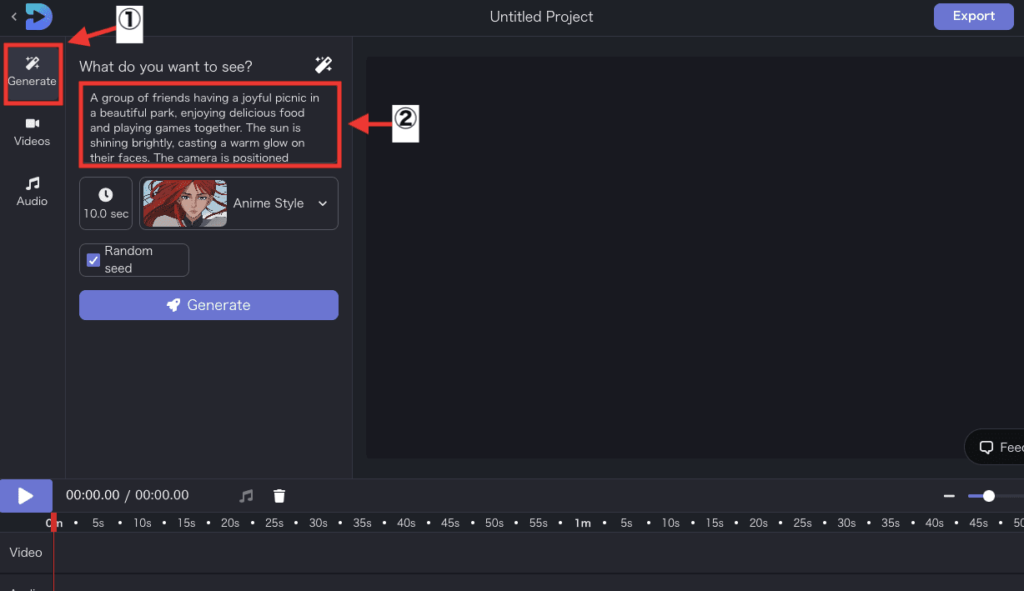
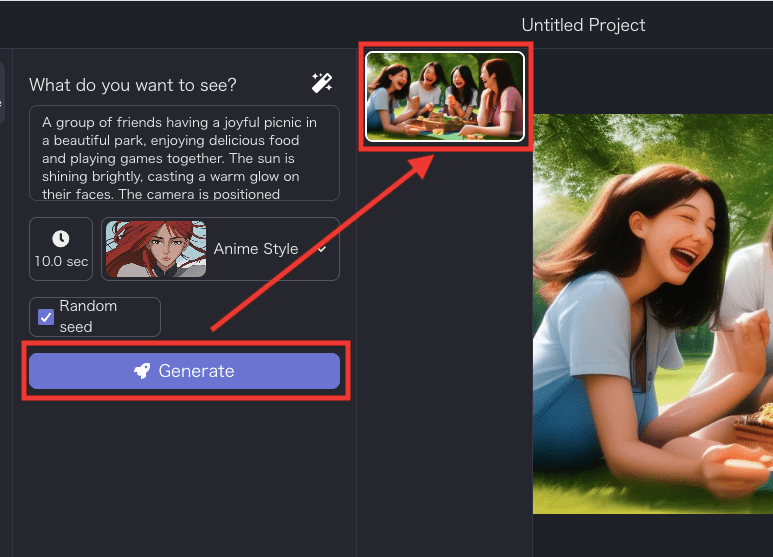
「Fluid」では左側にある「Generate」を選択して「What do you want to see?」の項目内に動画生成して欲しい言語・単語を入力することが出来ます。
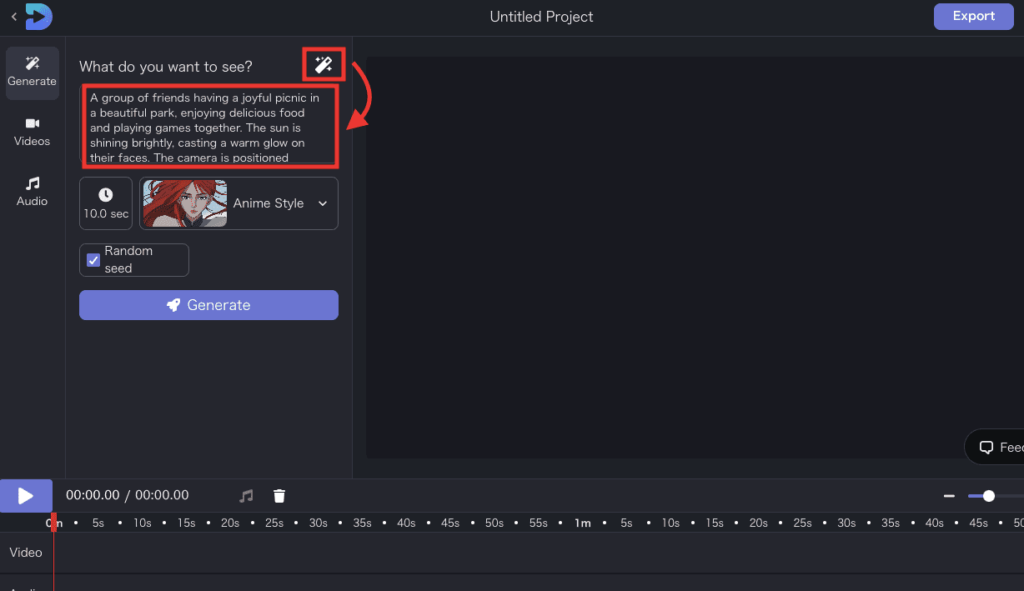
キラキラしたペンアイコンをクリックすることでAIが自動でプロンプト内容を決めてくれます。
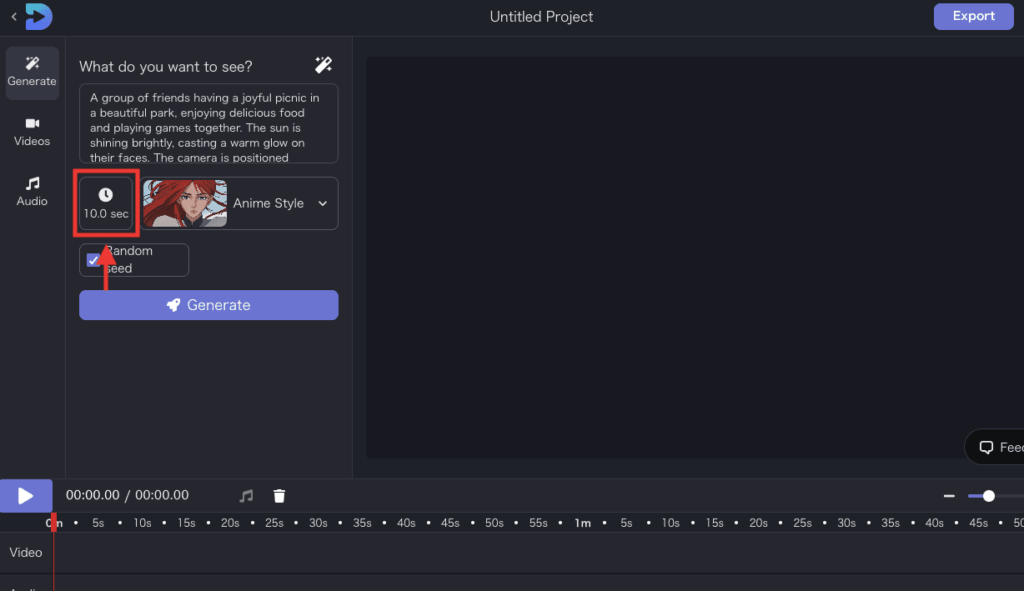
時計アイコンをクリックすると動画生成する秒数を設定することが出来ます。(現在は最大10秒まで可能)
「Style」をクリックすると、アニメ風・リアル風・サイバーパンク風などの画風を決めることが出来ます。

「Generate」ボタンをクリックすると動画生成することが出来ます。
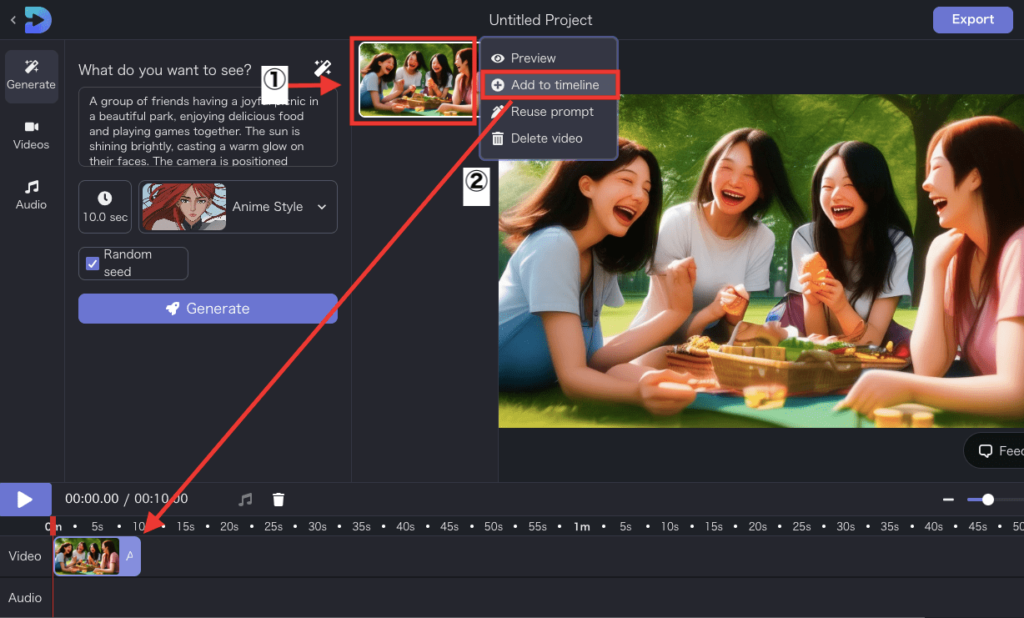
生成した動画をクリックしてから「Add to timeline」を選択することで、「Video」の項目内に生成した動画を配置することが出来ます。
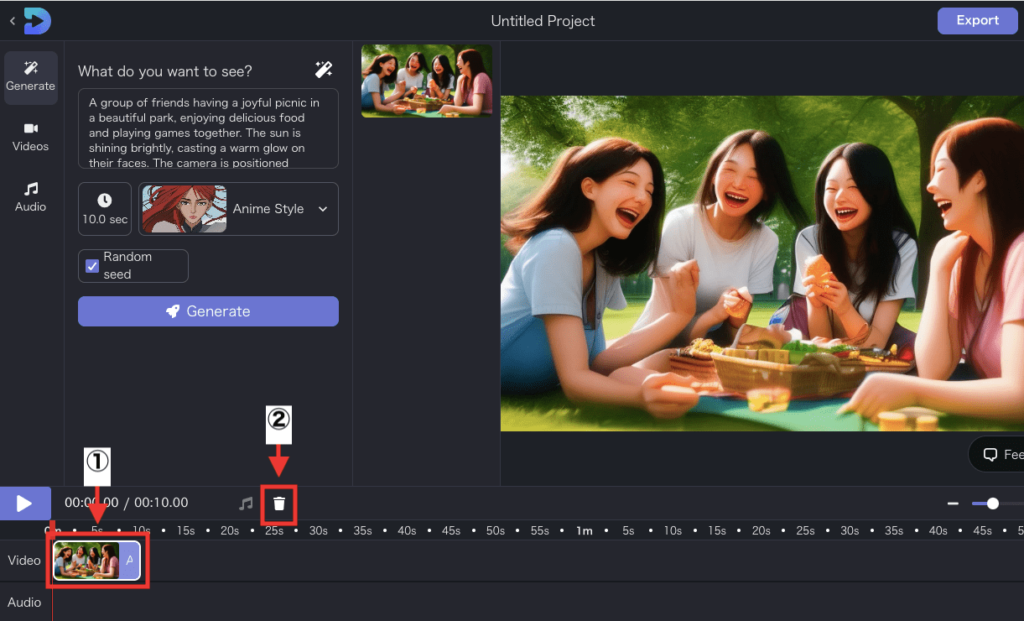
「Video」内で生成した動画を選択してゴミ箱アイコンをクリックすると削除できます。
左側にある「Audio」をクリックしてから表示されたサンプル音楽をクリックすることで「Audio」内に音楽を配置することが出来ます。
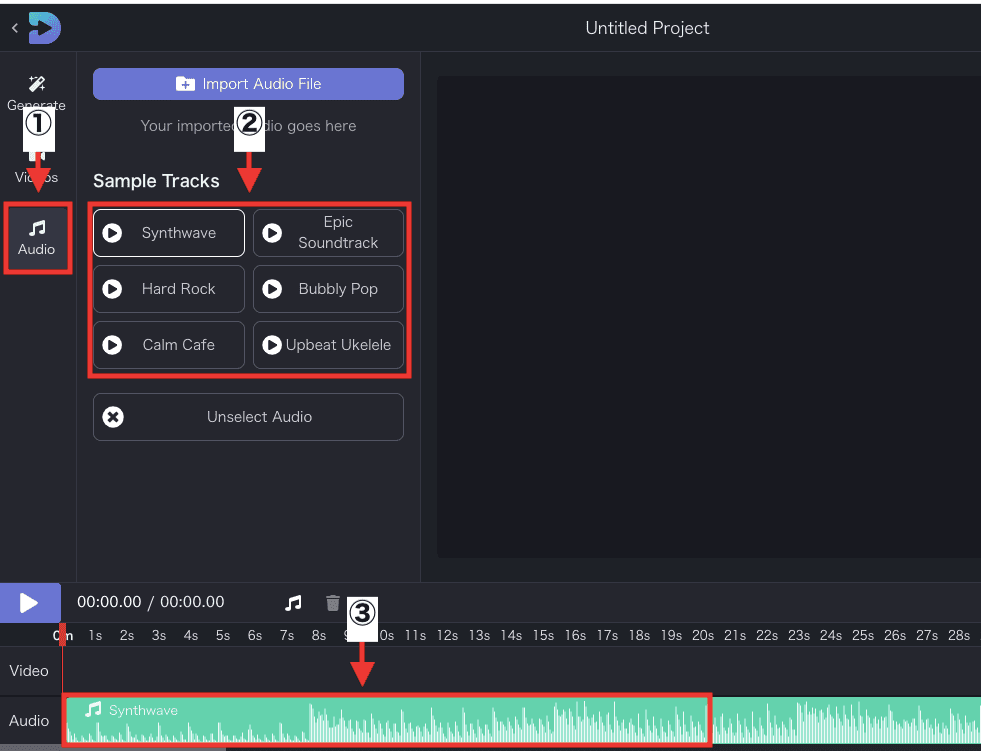
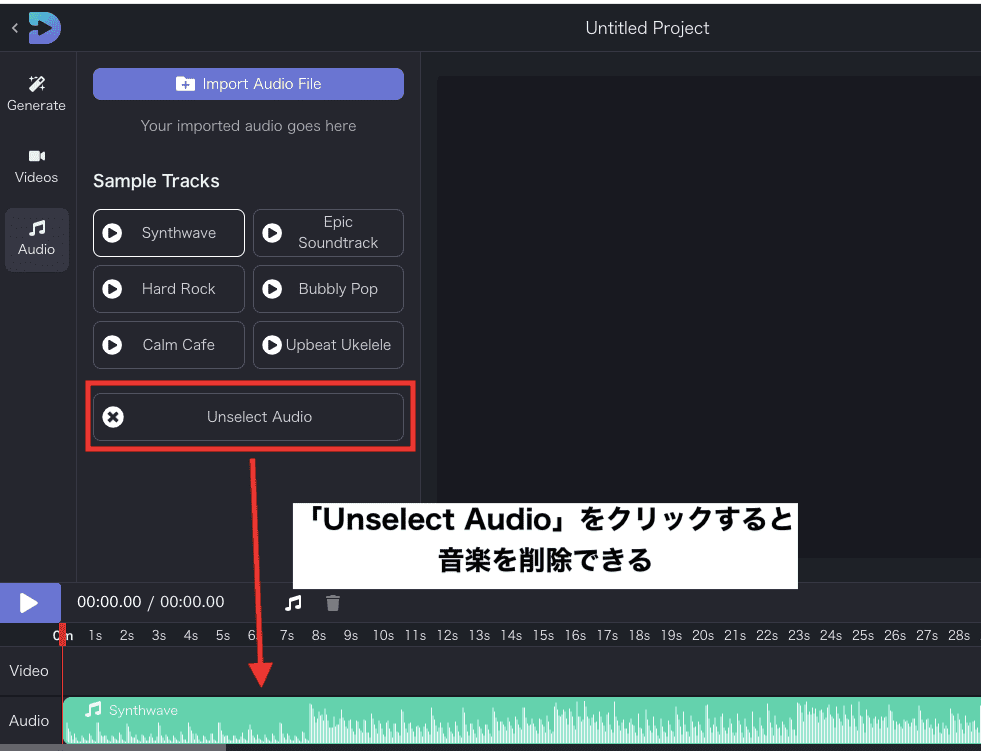
「Unselect Audio」をクリックすると音楽を削除できます。
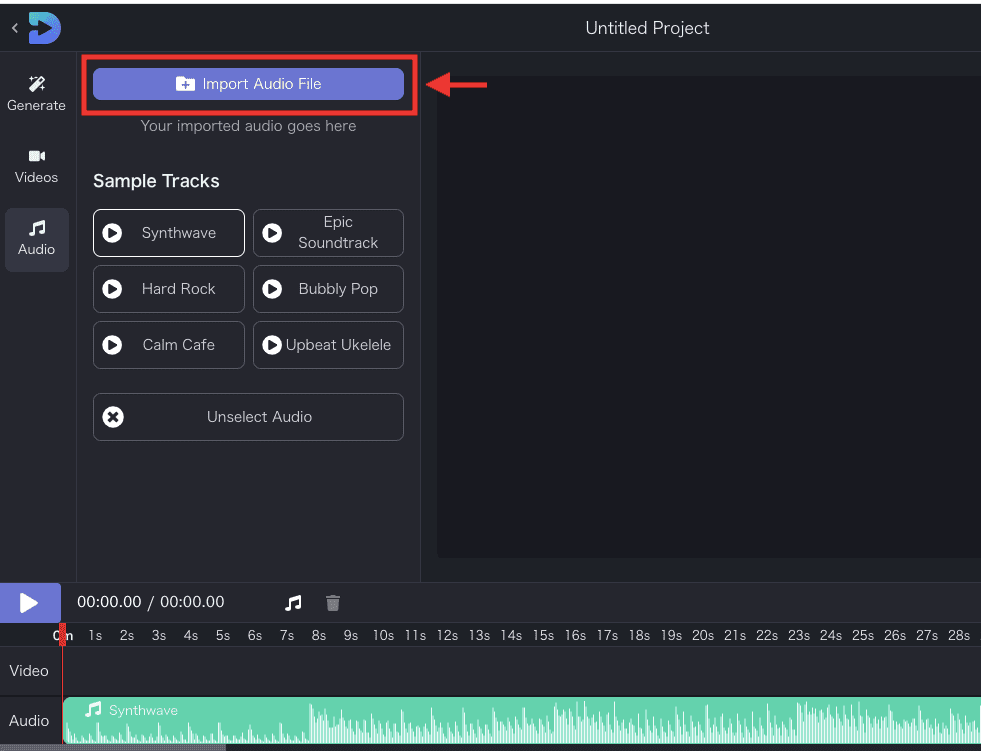
「Import Audio File」では音楽をアップロードして配置することができます。
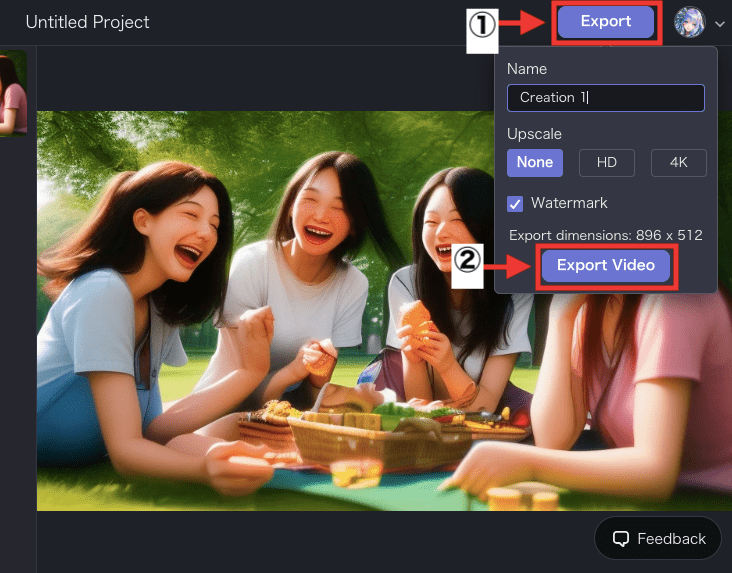
右上にある「Export」をクリックしてから「Export Video」をクリックすると生成した動画を書き出すことが出来ます。
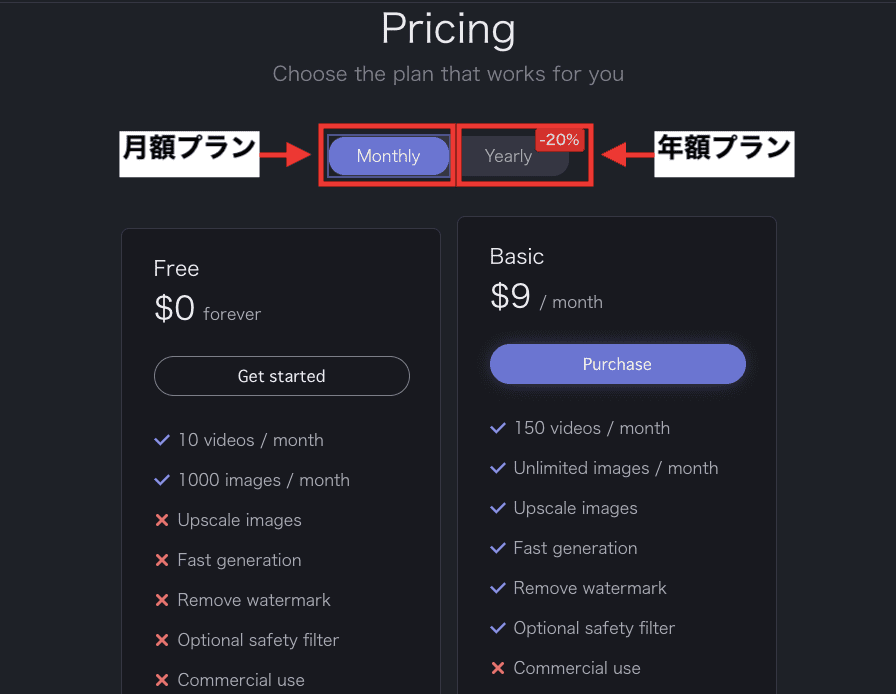
料金・有料プランについて

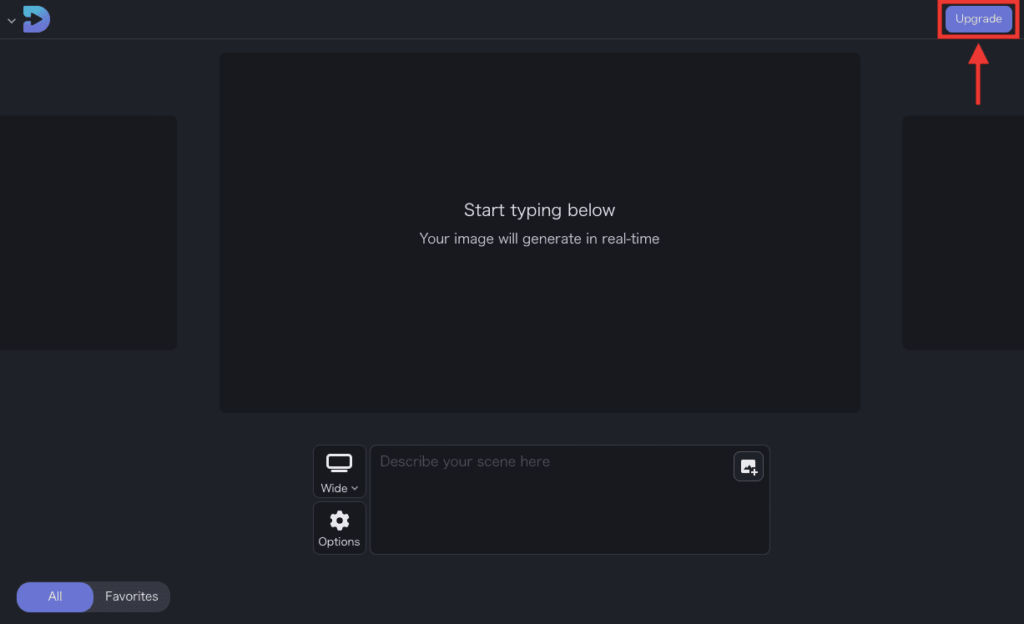
料金確認や有料プランに加入する場合は右上にある「Upgrade」をクリックすることで可能です。
月額プランと年額プランがあり、年額プランでは安くなります。
「Free」「Basic」「Creator」「Director」の4つのプランがあり主な内容は以下となっています。
・Freeでは月10回の動画生成と月1,000回の画像生成が可能
・Basicでは動画生成の回数が増えたり透かし(ロゴ)の削除などが出来る
・Creatorから商用利用可能
・Directorでは無制限に動画生成することが出来る
他にも多くの特典があります。
プラン内容は変更される可能性があるので内容の詳細はサイト内をご確認ください。
まとめ

「Decohere」の使い方について解説しました。
・テキストから動画生成できる
・画像から動画生成できる
・動画編集することができる
無料で動画生成を試すことができるので
是非参考にして動画生成してみてください!
他に動画生成する方法として「Domo AI」「PixVerse」などがあります。
以下の記事でそれぞれ使い方について解説しているので興味ある方は読んでみてください。