
「Google ColabでComfyUIの導入方法が分からない…」と困っていませんか?
Google Colabを使用するときはコードを記載する必要があり
どうやって記載するとComfyUIを導入できるのか分からないですよね。
この記事では
Google ColabでComfyUIを導入するためのコードを記載しているので
コピペするだけで導入することができます。
是非記事を参考にしてComfyUIを利用してみてください。
ComfyUIを導入する方法

Google Colabにアクセスしてください。
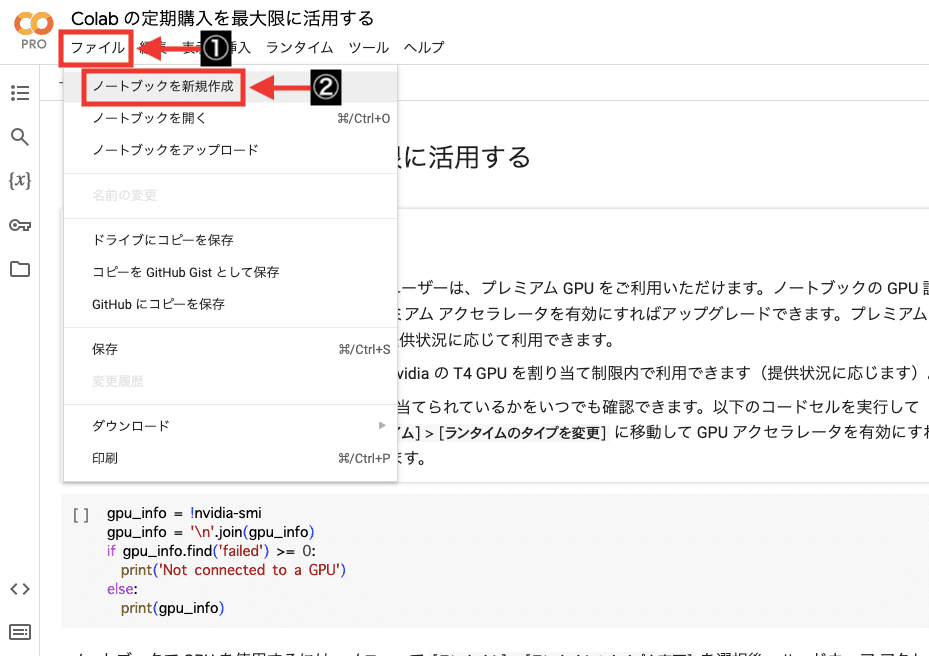
「ファイル」をクリックしてから
「ノートブックを新規作成」をクリックしてください。
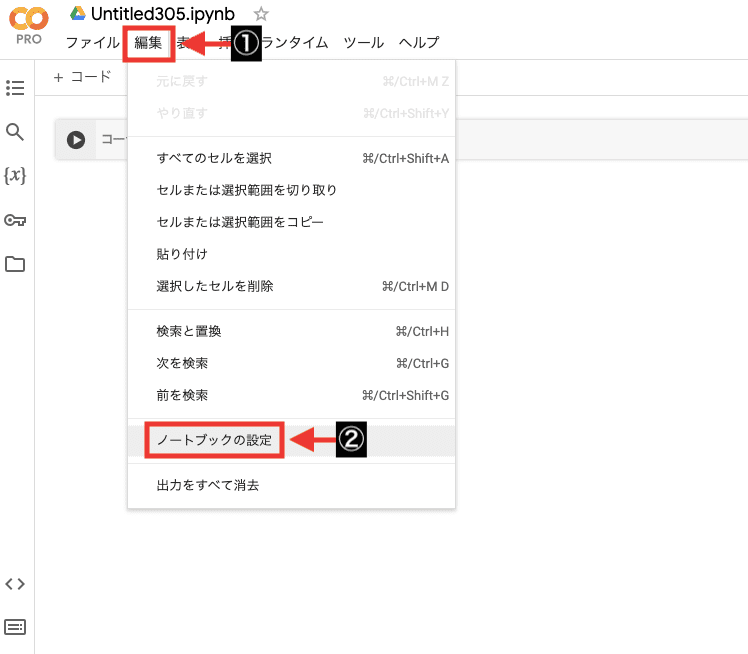
「編集」をクリックしてから
「ノートブックの設定」をクリックしてください。
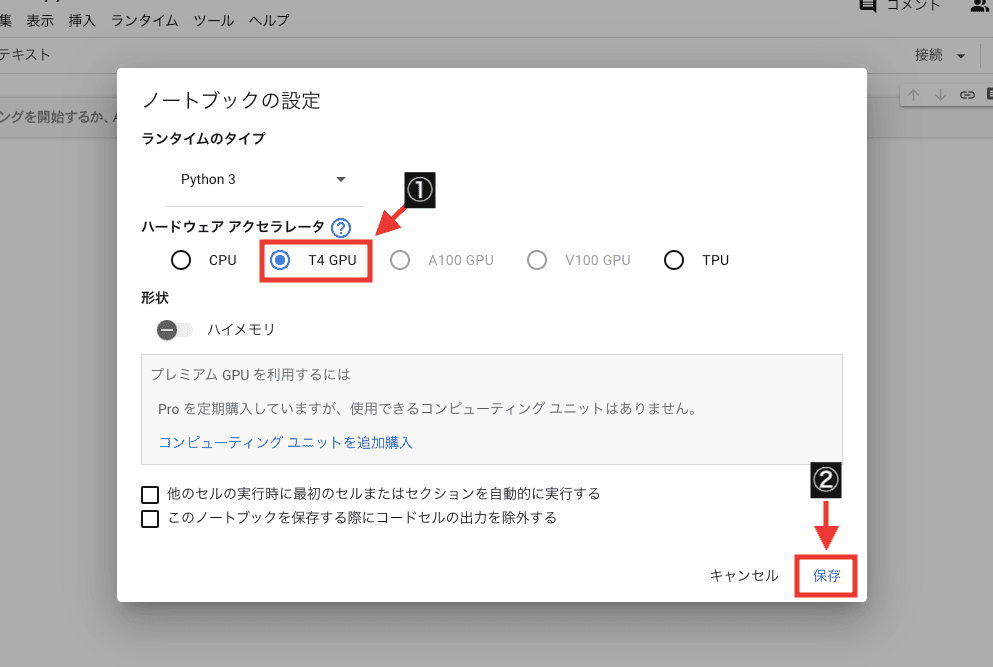
「ハードウェア アクセラレータ」の項目で
「T4 GPU」を選択してから
「保存」をクリックしてください。
この例では、コード内に「ComfyUI」と「Checkpointモデル」と「VAE」を導入するコードを追加します。
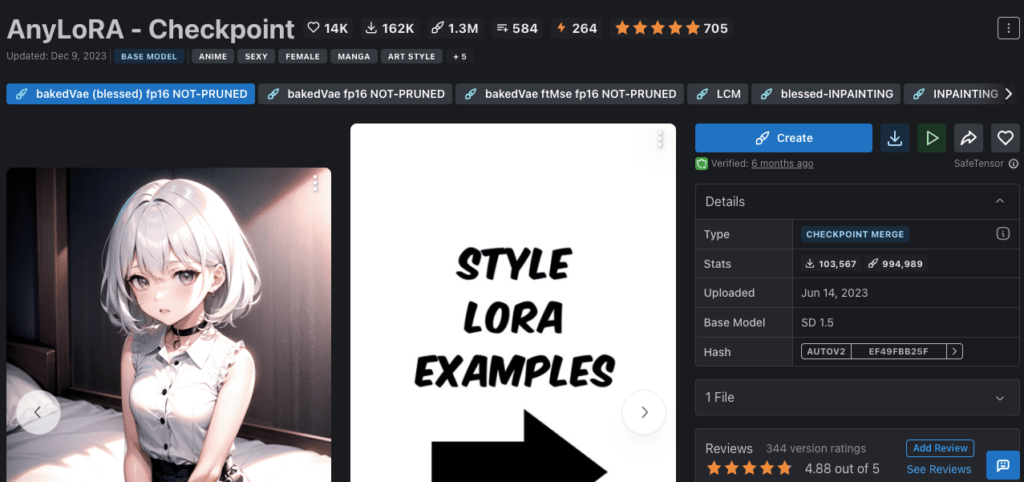
今回の例では、CivitAIのサイトから「AnyLoRA」のCheckpointモデルを導入します。
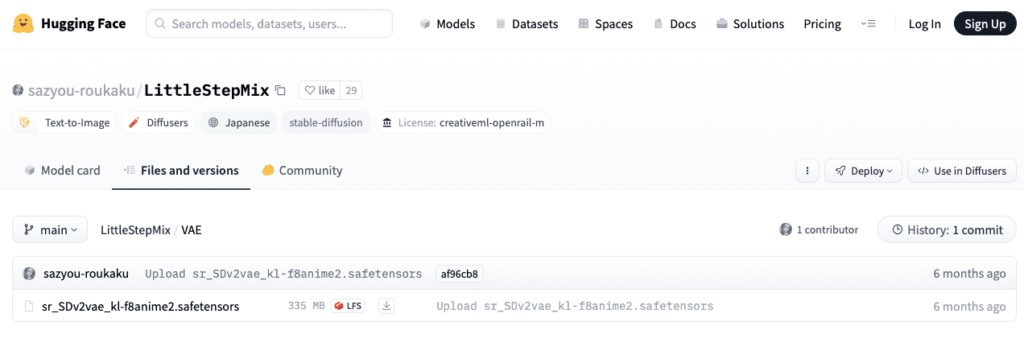
「VAE」は、「LittleStepMix」のCheckpointモデルサイト内に付属されている「kl-f8anime2」を導入します。
以下のコードでは、「ComfyUI」「AnyLoRA」「kl-f8anime2」を導入するコードが記載されているので、コード内にコピペしてから実行ボタンをクリックしてください。
import os

!apt -y update -qq
!apt -y install -qq aria2
!pip install -q torch==1.13.1+cu116 torchvision==0.14.1+cu116 torchaudio==0.13.1 torchtext==0.14.1 torchdata==0.5.1 --extra-index-url https://download.pytorch.org/whl/cu116 -U
!pip install -q xformers==0.0.16 triton==2.0.0 -U
!pip install -q mediapipe==0.9.1.0 addict yapf fvcore omegaconf

!git clone https://github.com/comfyanonymous/ComfyUI
%cd /content/ComfyUI
!pip install -q -r requirements.txt
!git reset --hard

!git clone https://github.com/ltdrdata/ComfyUI-Manager /content/ComfyUI/custom_nodes/ComfyUI-Manager

!wget https://github.com/cloudflare/cloudflared/releases/latest/download/cloudflared-linux-amd64 -O /content/cloudflared-linux-amd64 && chmod 777 /content/cloudflared-linux-amd64


import atexit, requests, subprocess, time, re, os
from random import randint
from threading import Timer
from queue import Queue
def cloudflared(port, metrics_port, output_queue):
    atexit.register(lambda p: p.terminate(), subprocess.Popen(['/content/cloudflared-linux-amd64', 'tunnel', '--url', f'http://127.0.0.1:{port}', '--metrics', f'127.0.0.1:{metrics_port}'], stdout=subprocess.DEVNULL, stderr=subprocess.STDOUT))
    attempts, tunnel_url = 0, None
    while attempts < 10 and not tunnel_url:
        attempts += 1
        time.sleep(3)
        try:
            tunnel_url = re.search("(?P<url>https?:\/\/[^\s]+.trycloudflare.com)", requests.get(f'http://127.0.0.1:{metrics_port}/metrics').text).group("url")
        except:
            pass
    if not tunnel_url:
        raise Exception("Can't connect to Cloudflare Edge")
    output_queue.put(tunnel_url)
output_queue, metrics_port = Queue(), randint(8100, 9000)
thread = Timer(2, cloudflared, args=(8188, metrics_port, output_queue))
thread.start()
thread.join()
tunnel_url = output_queue.get()
os.environ['webui_url'] = tunnel_url
print(tunnel_url)

#AnyLora
!aria2c --console-log-level=error -c -x 16 -s 16 -k 1M https://civitai.com/api/download/models/95489 -d /content/ComfyUI/models/checkpoints -o AnyLora.safetensors

#kl-f8-anime2
!aria2c --console-log-level=error -c -x 16 -s 16 -k 1M https://huggingface.co/sazyou-roukaku/LittleStepMix/resolve/main/VAE/sr_SDv2vae_kl-f8anime2.safetensors -d /content/ComfyUI/models/vae -o sr_SDv2vae_kl-f8anime2.safetensors

!python main.py --dont-print-server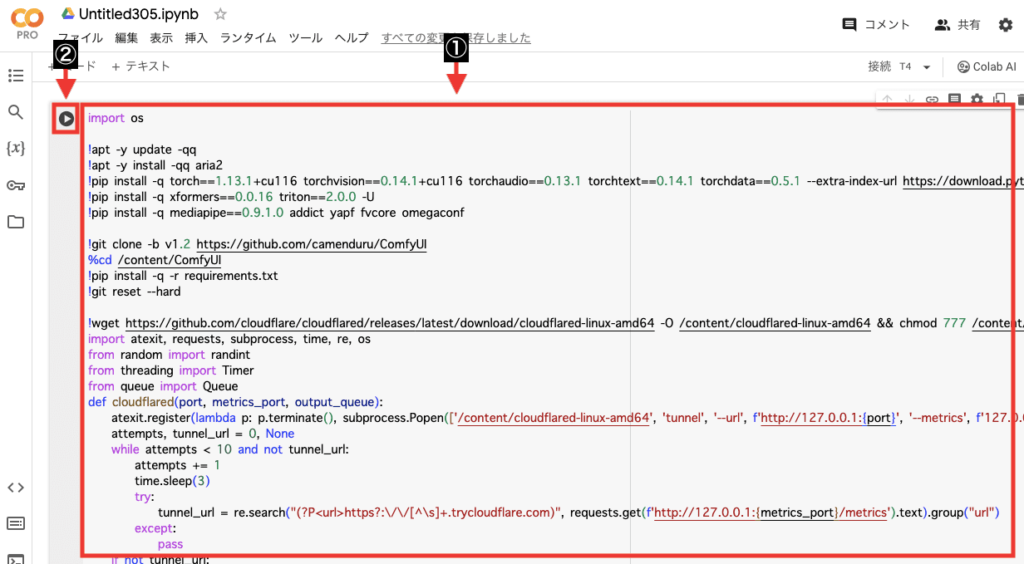
別のCheckpointモデルを導入したい方は、例として以下のように修正してください。
導入するCheckpointモデルのダウンロードURLを、以下にある(ダウンロードURL)の部分を削除してからペーストしてください。
赤字になっている「AnyLora」の部分ではモデルの名前になっているので、削除してから導入するモデルの名前に変更してください。
!aria2c –console-log-level=error -c -x 16 -s 16 -k 1M (ダウンロードURL) -d /content/ComfyUI/models/checkpoints -o AnyLora.safetensors
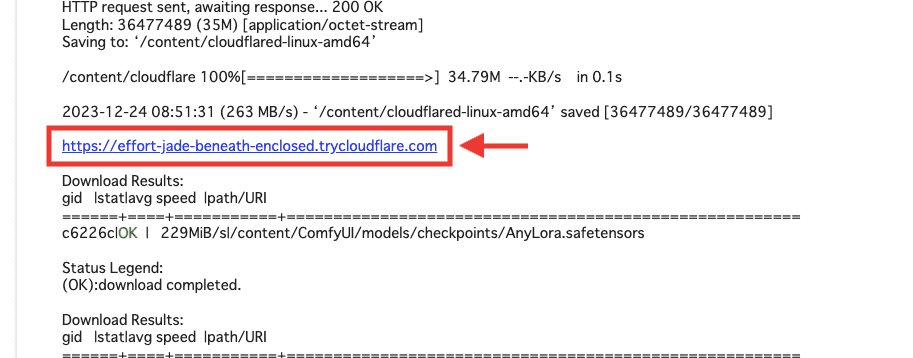
コードを実行してから数十分後くらいに
以下の画像のようにURLが表示されるのでクリックすることで「ComfyUI」を使用することができます。
ComfyUIの使い方

ComfyUIを起動したら、以下のzipファイルをダウンロードして解凍してください。
「AnyLora_workflow.json」形式のファイルを
ComfyUI内の何もない場所にドラッグ&ドロップしてください。
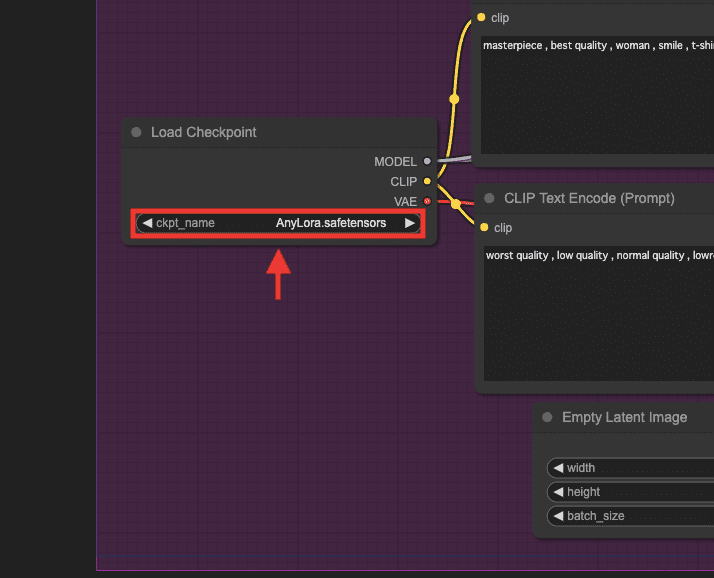
「Load Checkpoint」項目内にある「ckpt_name」をクリックしてから
「AnyLora」が設定されているか確認してください。
別のCheckpointモデルを導入した方は、そのモデルに変更してください。
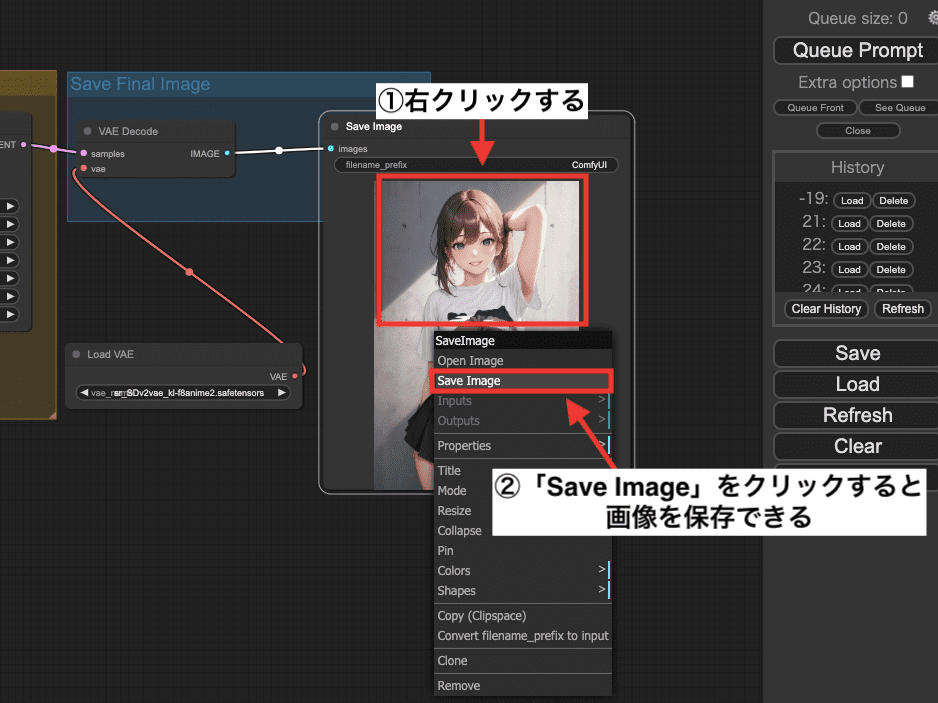
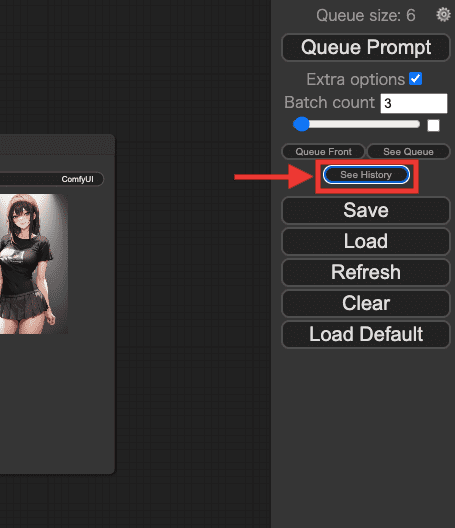
「Queue Prompt」をクリックすることで画像生成することが出来ます。
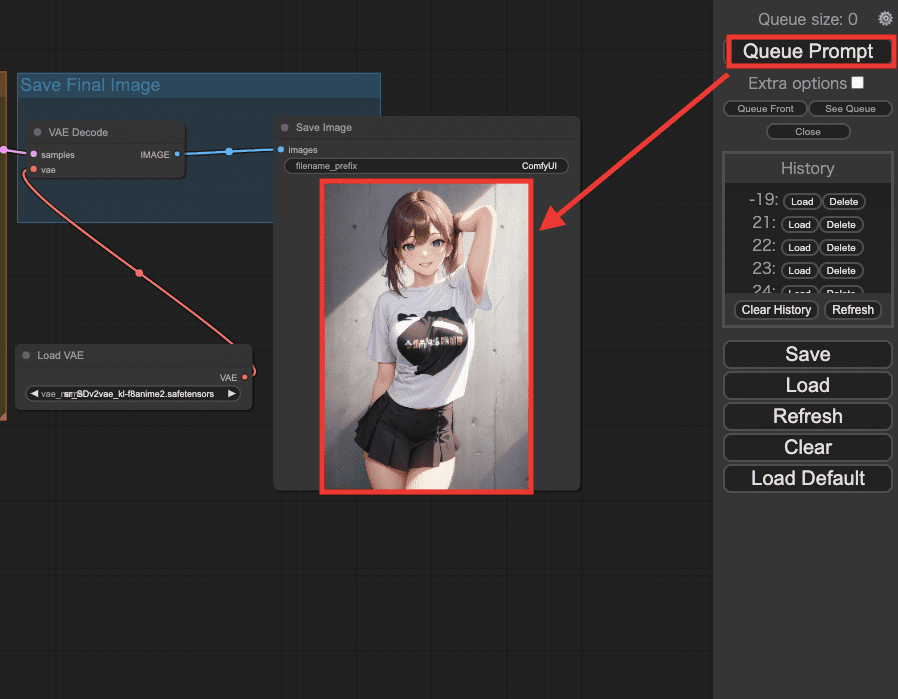
画像生成した作品内で、右クリックしてから「Save Image」をクリックすると、画像を保存することが出来ます。
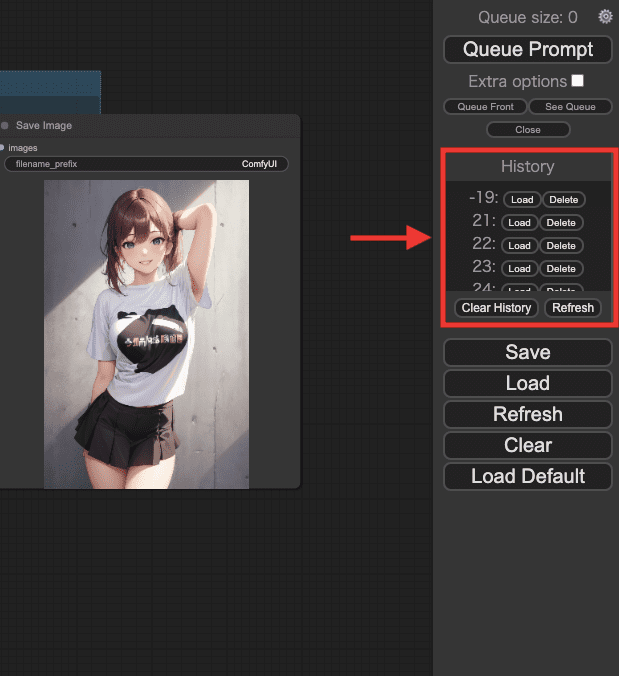
「See History」をクリックしてください。
「History」項目では、「Load」をクリックすることで
過去に画像生成した時のパラメータ情報に戻すので、過去に画像生成した作品を確認したり
パラメータ情報を再度利用したりすることが出来ます。
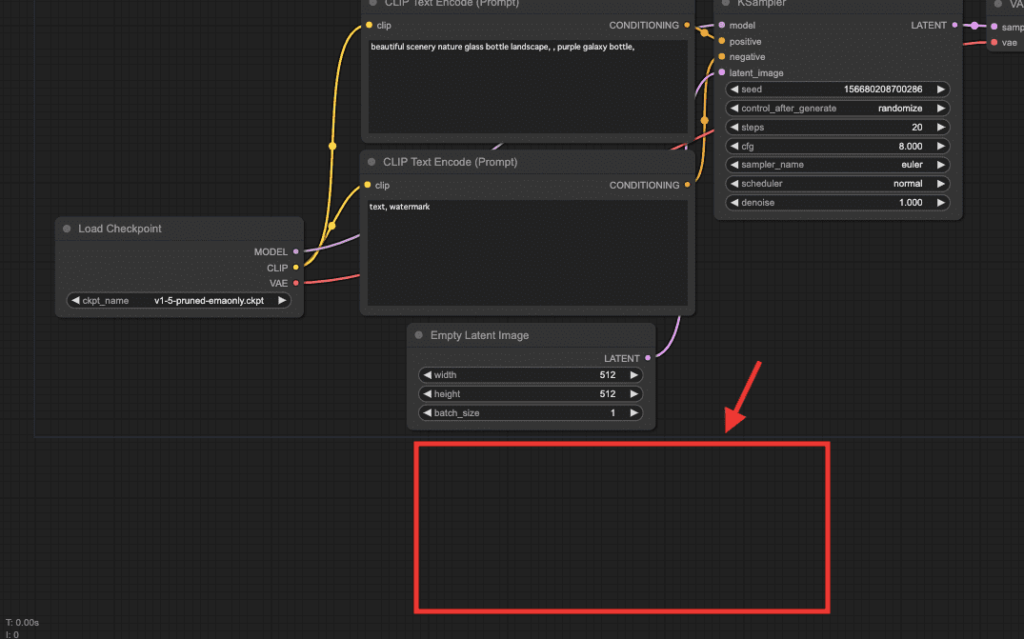
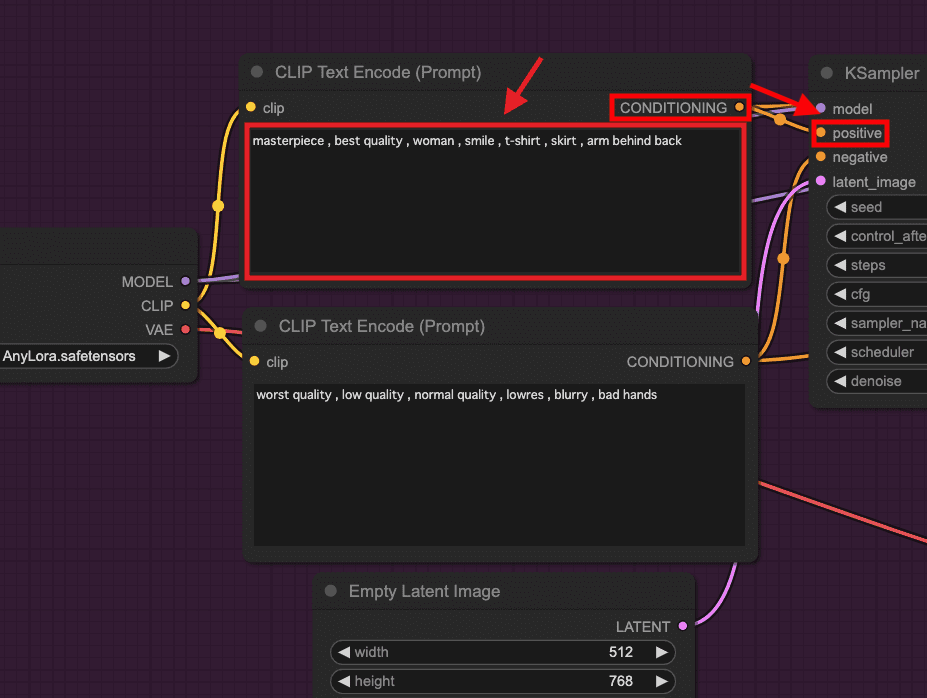
「CLIP Text Encode(Prompt)」項目では、「CONDITIONING」から「positive」にコードが繋がっていた場合は、プロンプトの入力場所になっています。
プロンプト内には、画像生成したい内容を入力してください。
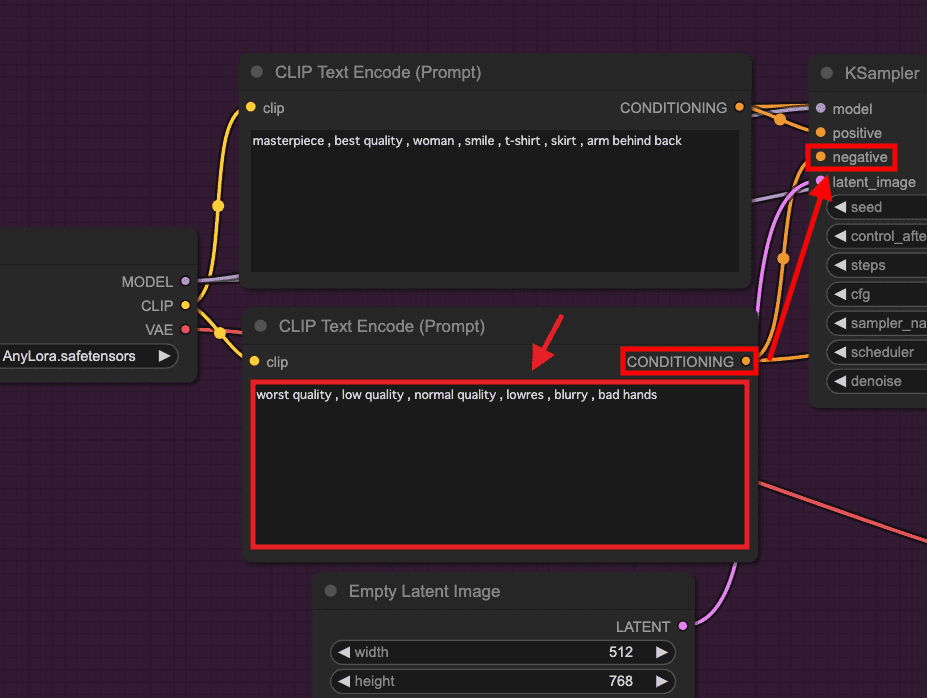
その下にある「CLIP Text Encode(Prompt)」項目では
「CONDITIONING」から「negative」にコードが繋がっているので
画像生成したくない内容を入力してください。
「Empty Latent Image」項目では、画像サイズを設定することが出来ます。
「batch_size」では、一度に連続生成する枚数を変更することが出来ます。
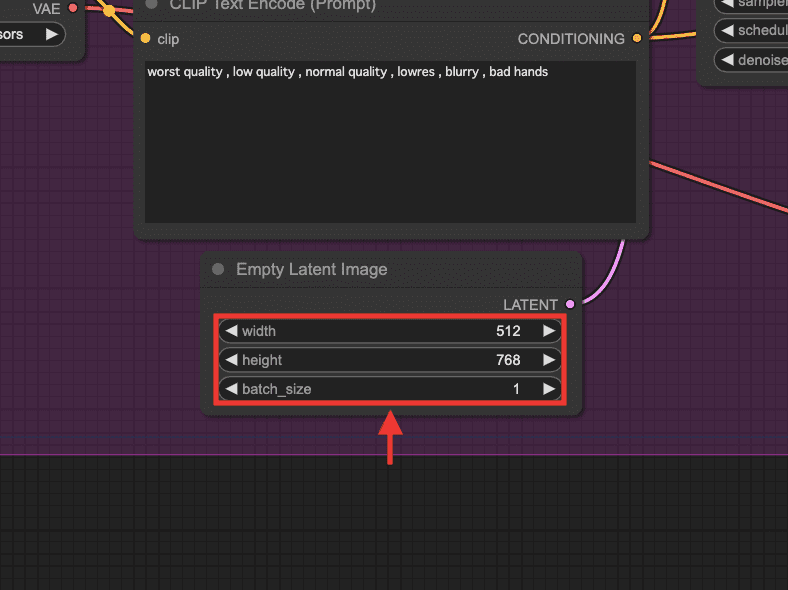
以下の画像のように、「batch_size」では3枚の設定にすると、1枚ずつ分割して3枚画像生成されます。
1度に連続生成する枚数を変更することが出来るもう1つの方法として
「Extra options」にチェックを入れてから
「Batch count」の数値を変更する方法があります。
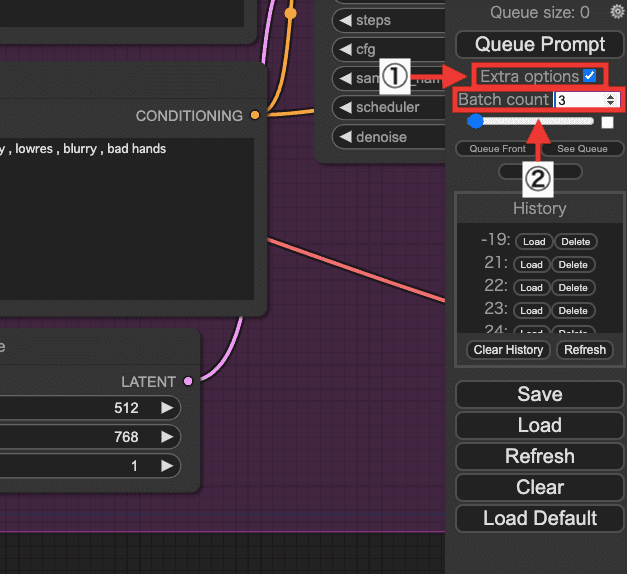
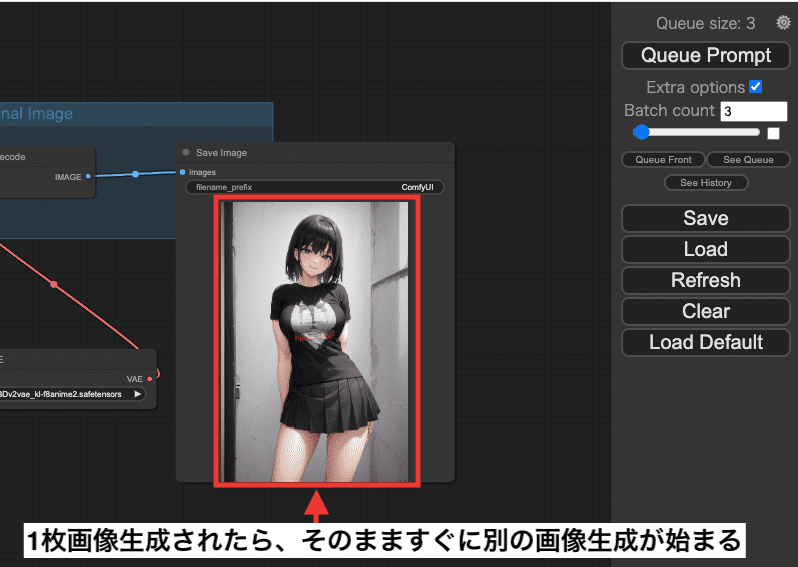
「Batch count」を「3」にして生成した場合は
1枚画像生成されたらそのまますぐに別の画像生成が始まります。
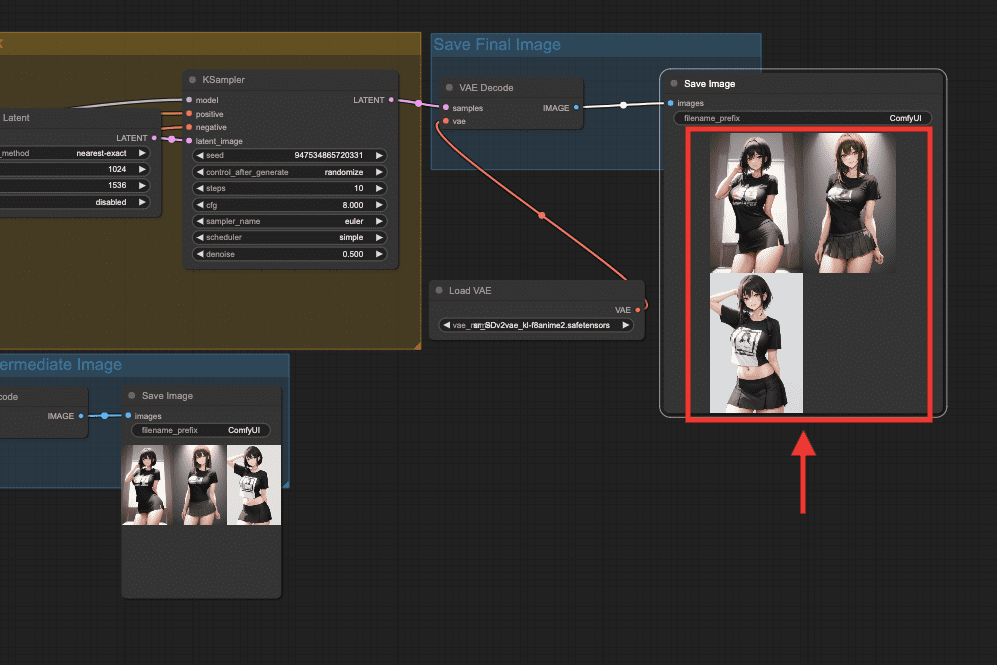
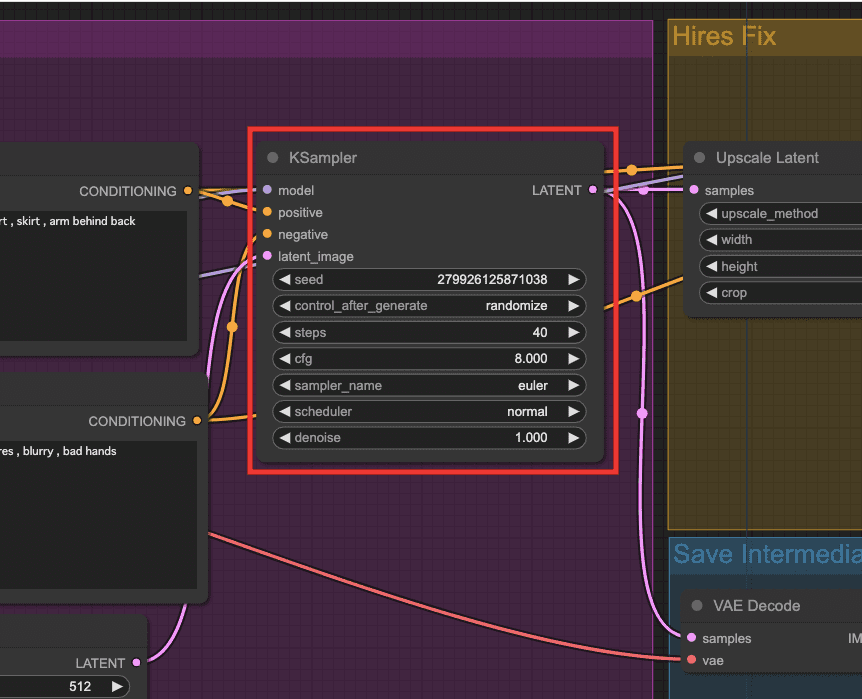
「KSampler」では、「steps」を変更したり「sampler_name」でサンプラーを変更したり出来ます。
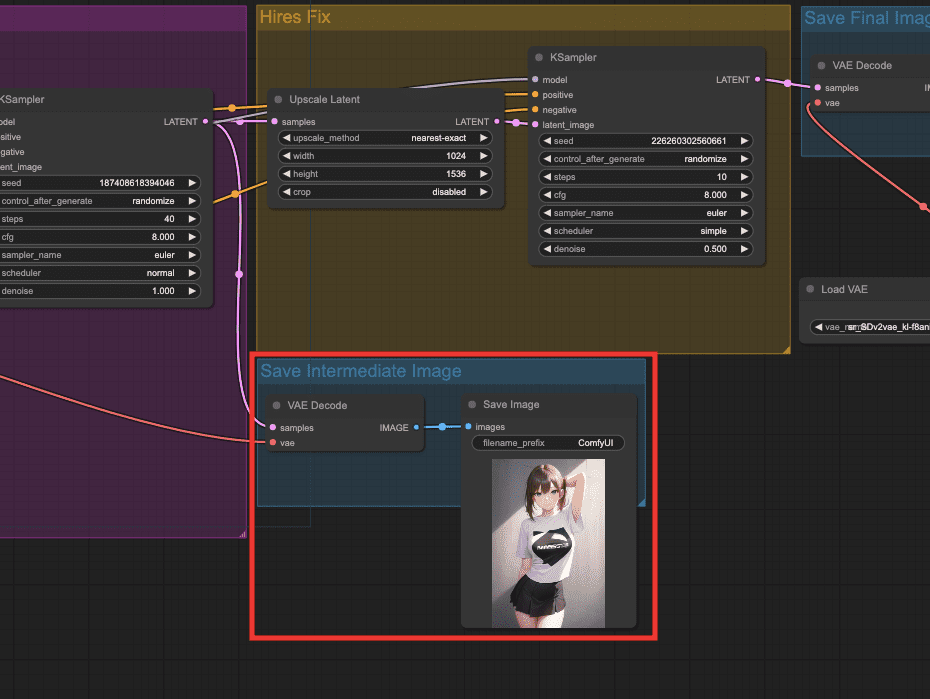
「Save Intermediate Image」では
「Hires Fix」前に「Empty Latent Image」項目で設定した画像サイズで生成しています。
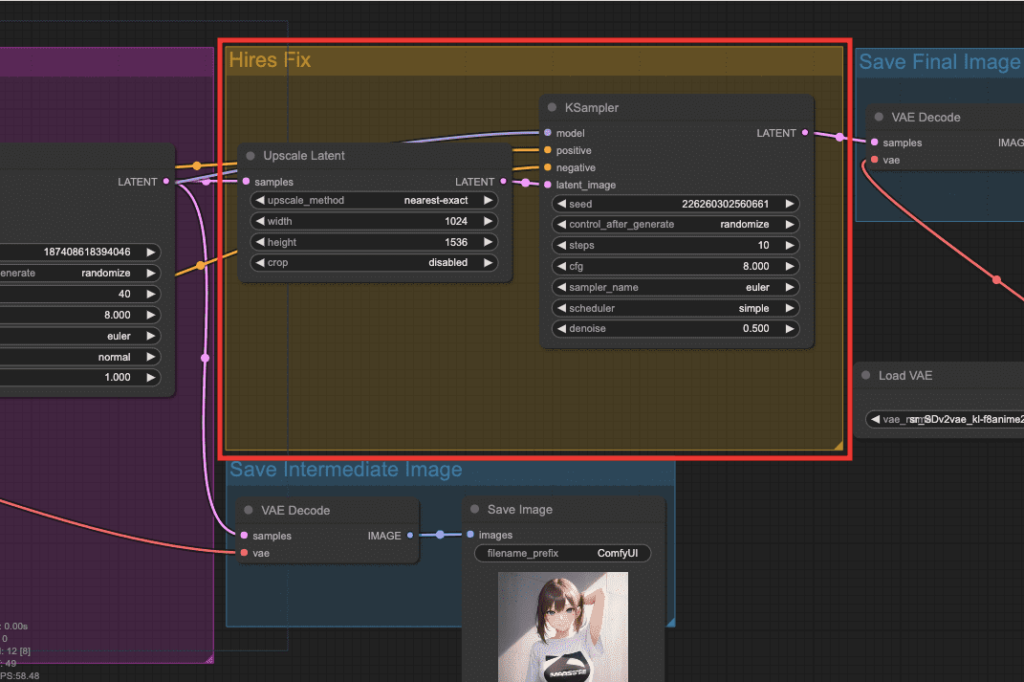
「Hires Fix」では、高画質化・高解像にさせることが出来ます。
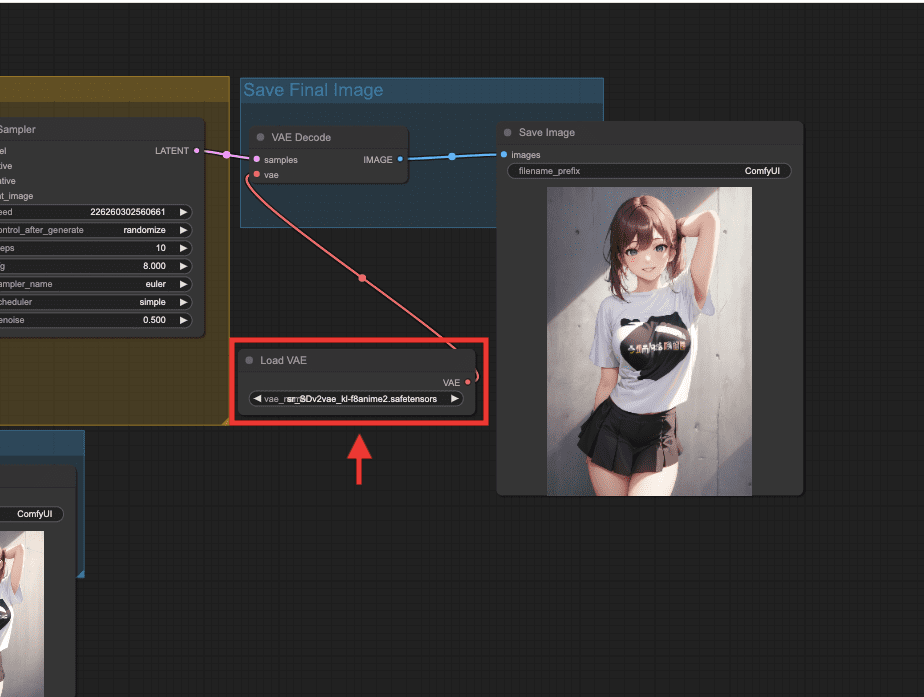
「Load VAE」では、導入したVAEを設定する項目になっています。
この例では、コード内で導入していた「kl-f8anime2」が設定されています。
「LoRA」モデルや「Embedding」などを設定したい場合は
以下のリンクにあるComfyUIのExamplesを参考にして導入するといいでしょう。

例として、LoRAの設定方法を参考にしたい場合は「Lora」をクリックしてください。
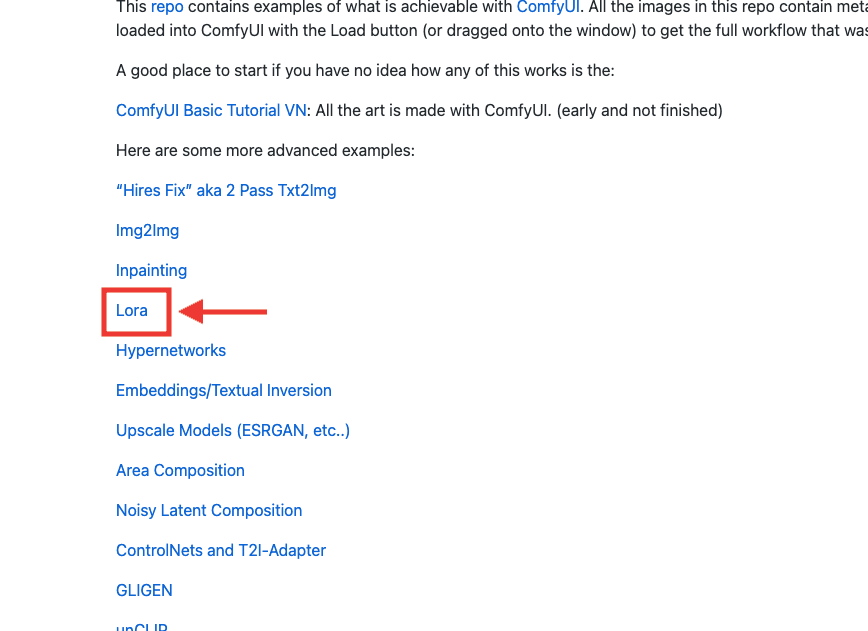
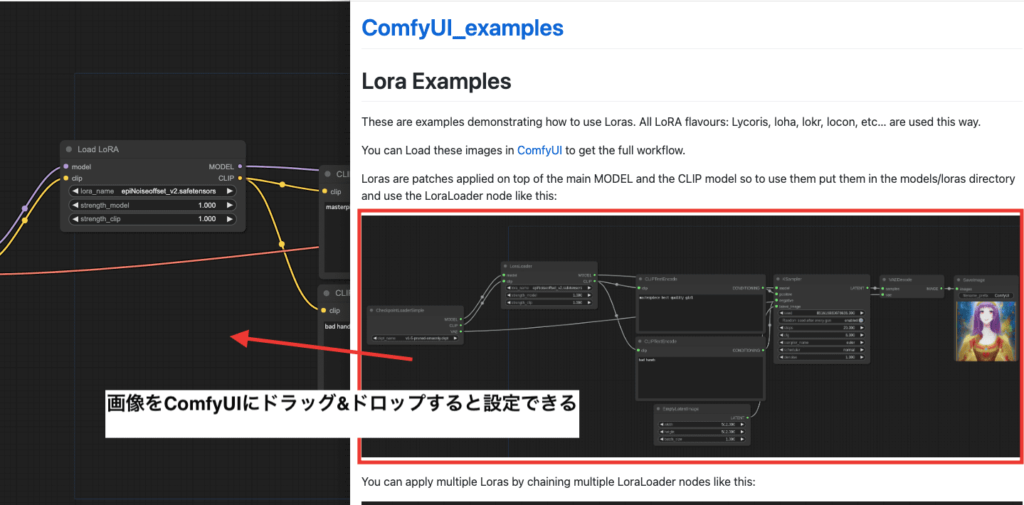
「Lora Examples」内のページに画像が表示されているので
画像をComfyUI内にドラッグ&ドロップすると設定することが出来ます。
まとめ

Google ColabでComfyUIの導入方法について解説しました。
ComfyUIでは、Stable Diffusion Web UIよりも少し複雑な構造なので上級者向けかなと感じます。
Stable Diffusion Web UIよりも早く画像生成できるので
上手く使いこなせるようになるとこちらの方がいいと思います。
是非参考にしてComfyUIを導入してみてください。