高画質にしたい!
FreeUの使い方を教えて!
「FreeU」の拡張機能を使うことで、画質を向上させることが出来るのでクオリティを上げてくれます。
この記事では、FreeUの導入方法と使い方について解説します。
FreeUの導入方法
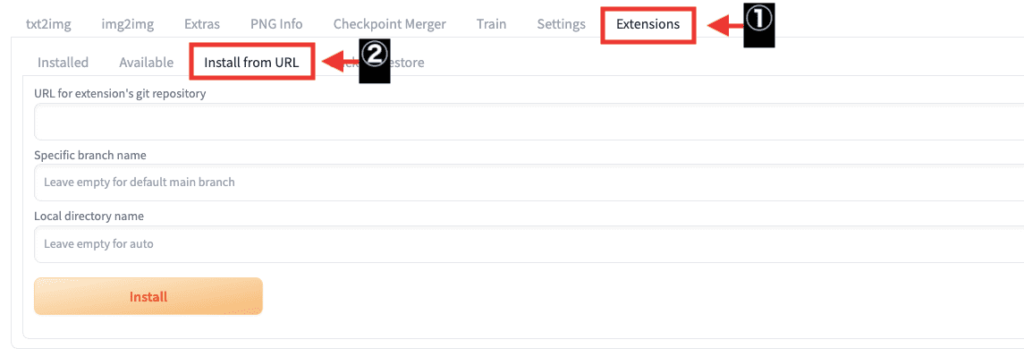
右上にある「Extensions」をクリックしてから
「Install from URL」を選択してください。
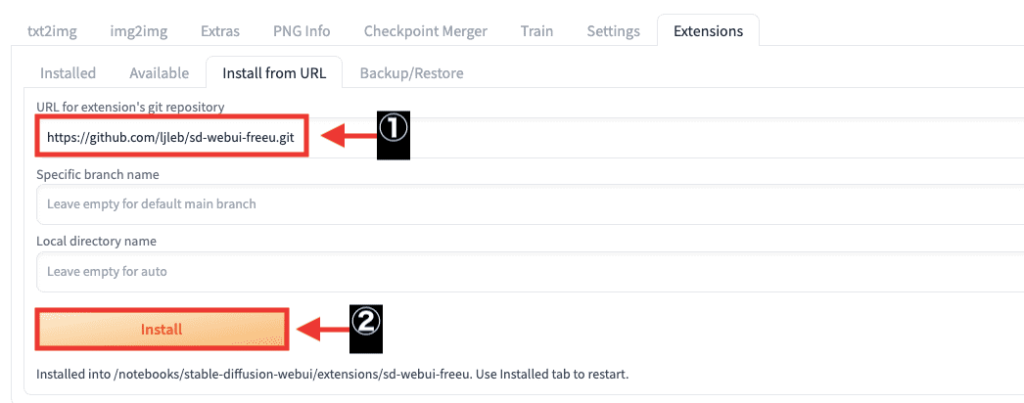
「URL for extension’s git repository」内に「https://github.com/ljleb/sd-webui-freeu.git」をペーストしてから
「Install」ボタンをクリックしてください。
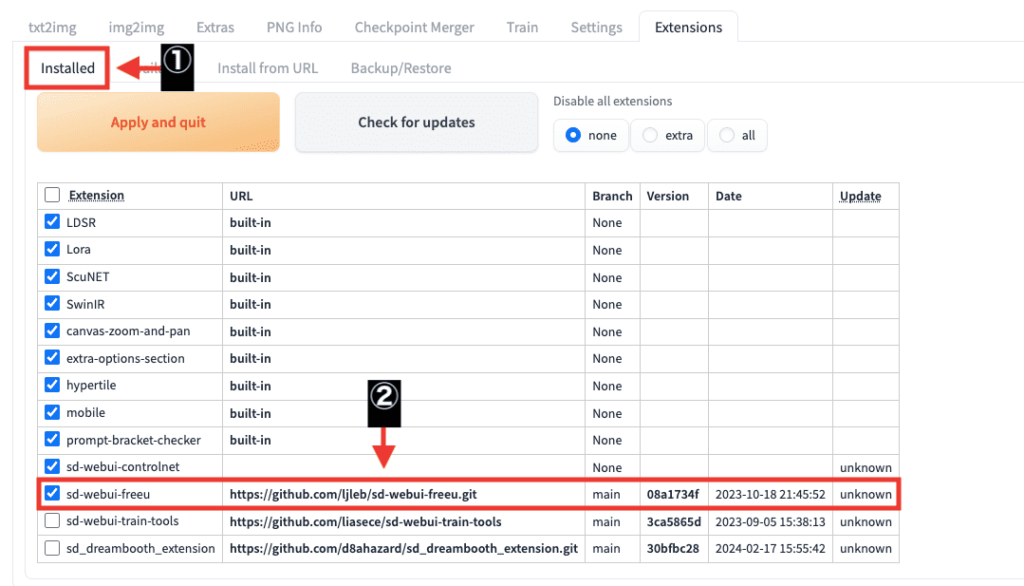
「Installed」をクリックしてから
「sd-webui-freeu」がインストールされているか確認してください。
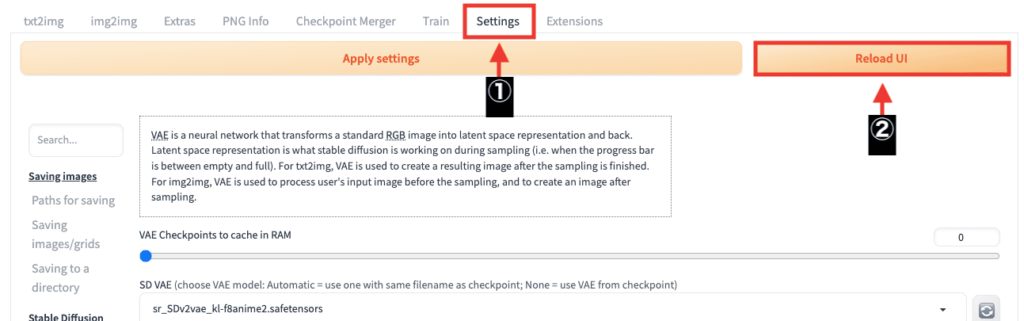
「Settings」をクリックしてから
「Reload UI」ボタンをクリックして、Stable Diffusion Web UIを再起動すると導入完了です。
FreeUの使い方
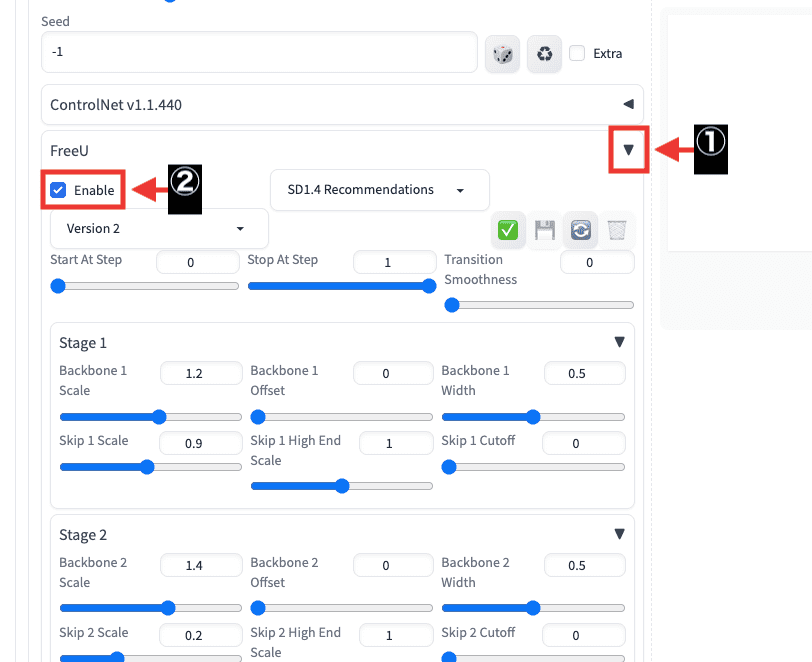
「txt2img」か「img2img」の下に追加されている
「FreeU」のタブを開いてから、「Enable」にチェックを入れることで適用することができます。
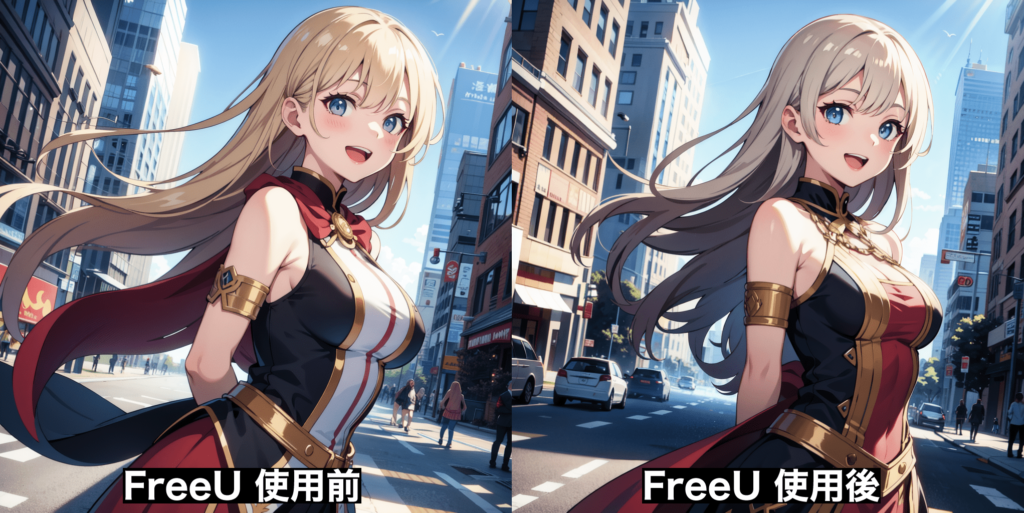
以下はSeed値を固定して「FreeU」使用前と後を比較した結果になります。
使用前と後を比べると、少し印象が変わって画質が上がっていますね。
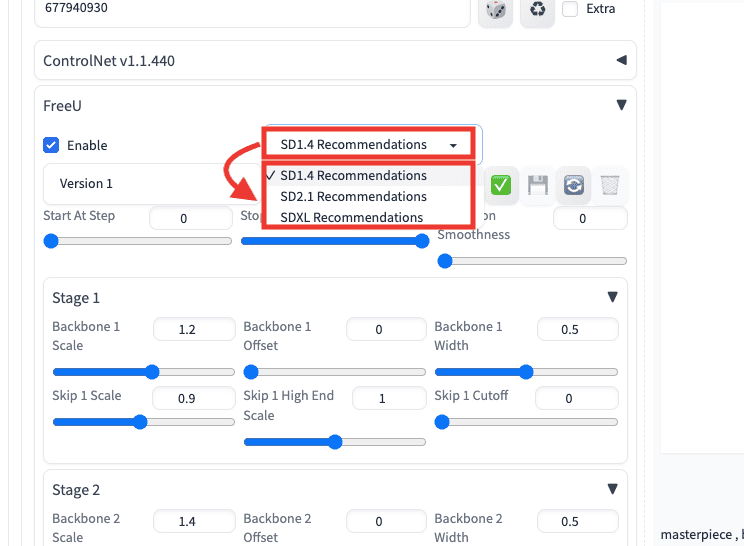
Enableの右側にある項目では、次の3つの中から選択することができます。
・SD1.4 Recommendations
・SD2.1 Recommendations
・SDXL Recommendations
それぞれ生成して比較してみましたが何も変わっていませんでした。
(もしかすると画像によっては何か変わるかもしれません)
「Version 1」と「Version 2」では印象が少し変わります。
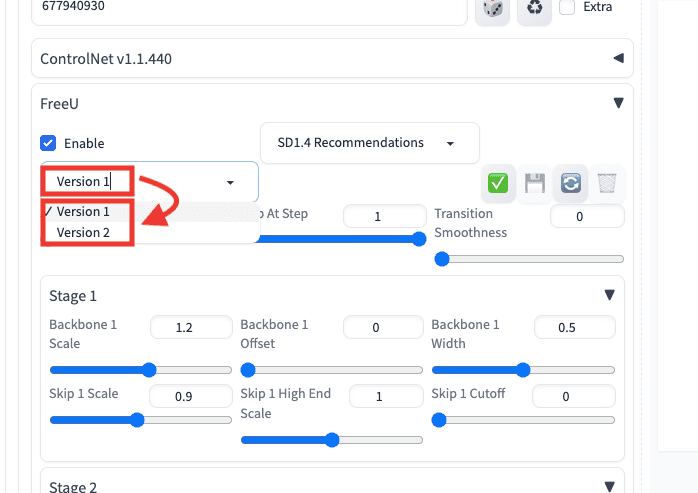
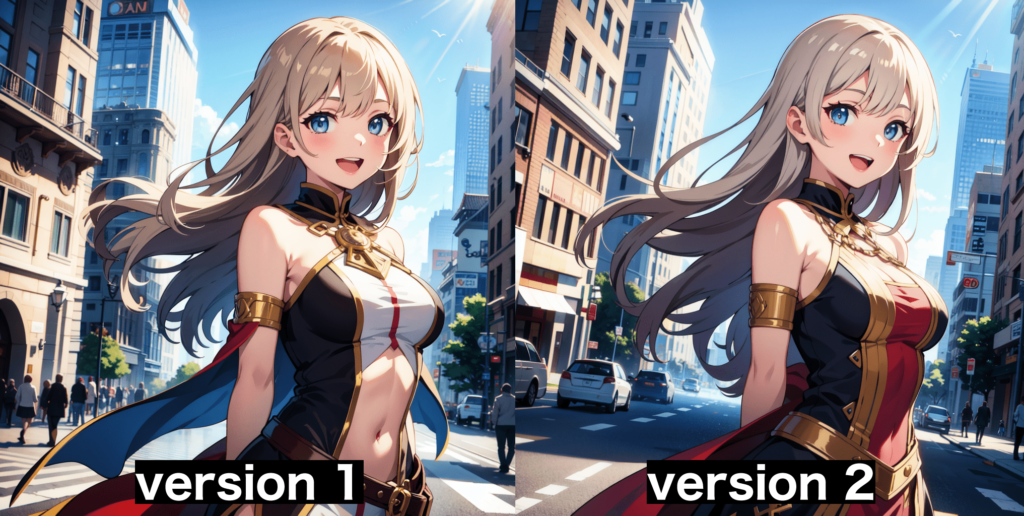
以下は「Version 1」と「Version 2」を比較した結果になります。
「Version 1」は質が劣化すると思いましたが、どちらも良い感じに生成できています。
「Start At Step」では、このSampling Stepに到達するまではFreeUを適用しない設定になっています。(0は必ずFreeUを使用します)
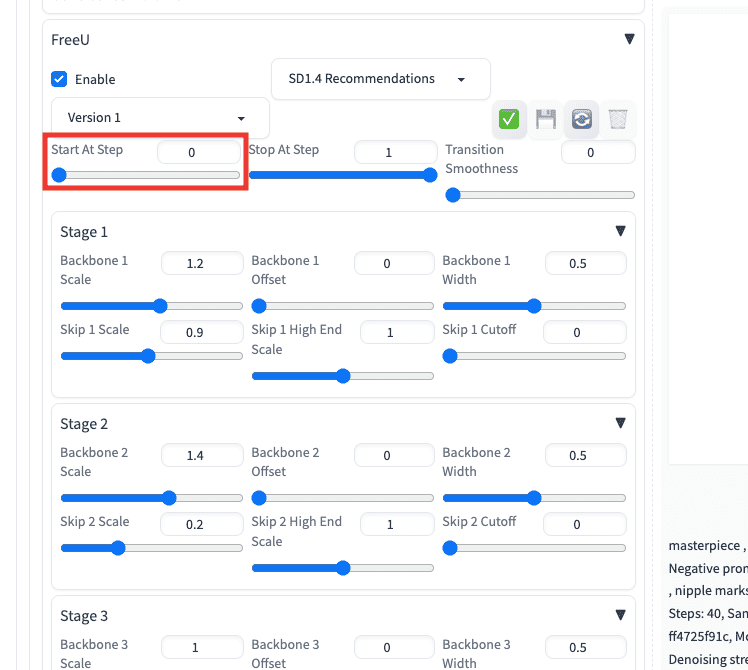
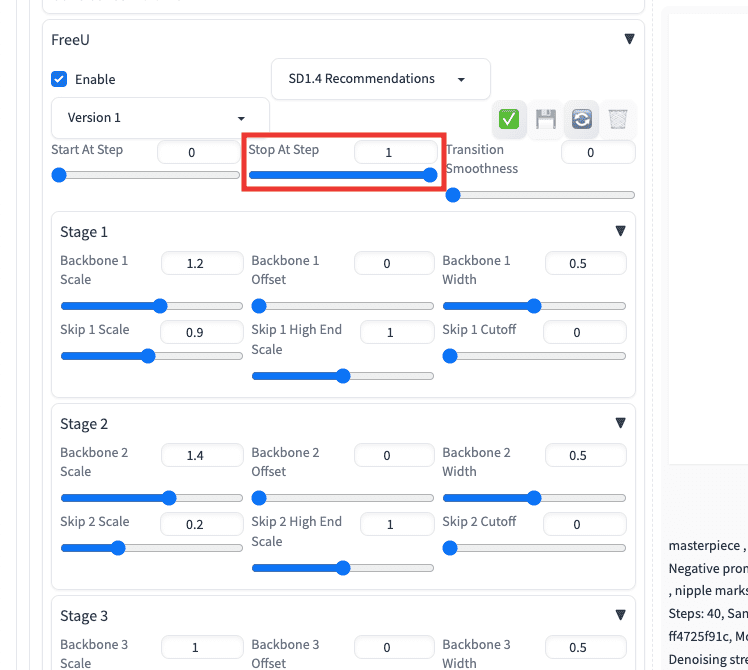
「Stop At Step」では、このSampling stepsに到達するまでFreeUを適用します。
「Transition Smoothness」では、少しだけ印象が変わります。
以下のように、服装や背景が少し変わります。
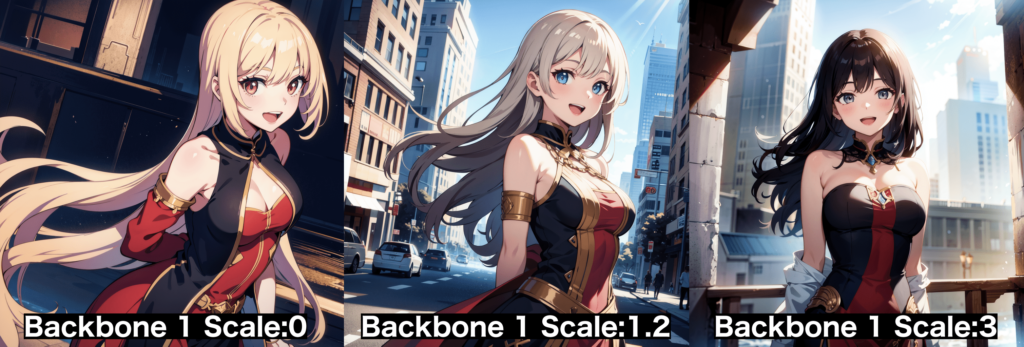
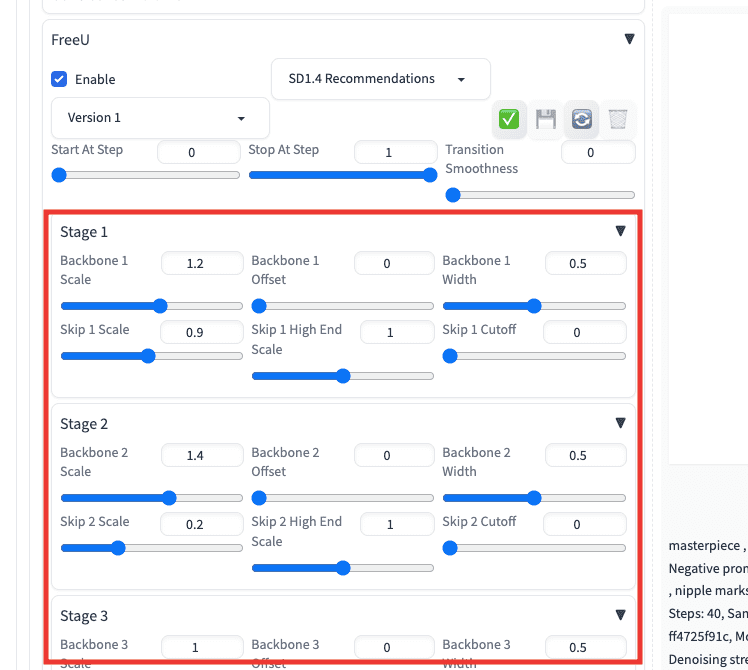
Stage項目にある「Backbone 1 Scale」では、印象を大きく変えることができます。
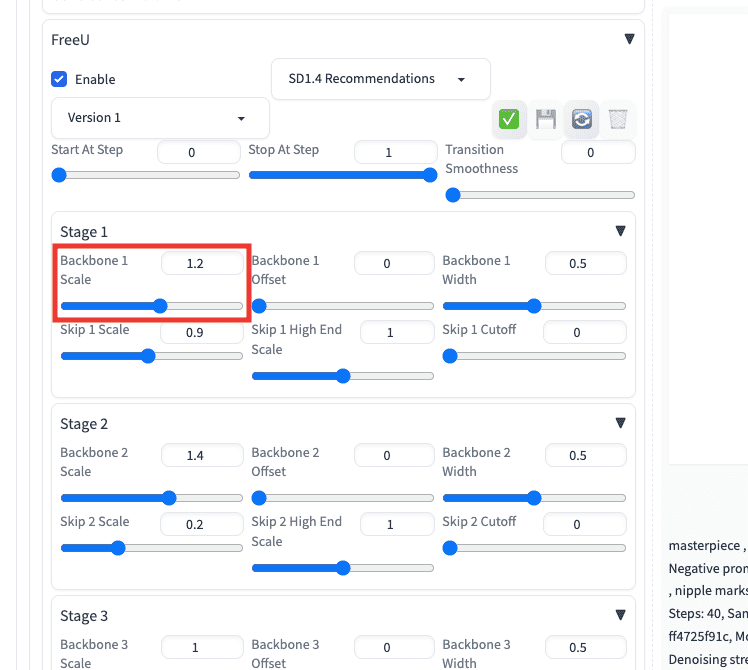
以下の画像は、「Backbone 1 Scale」の数値を「0」、初期設定の「1.2」、「3」で比較した結果になります。
大きく違った画像に変えることが出来るので試行錯誤してみてください。
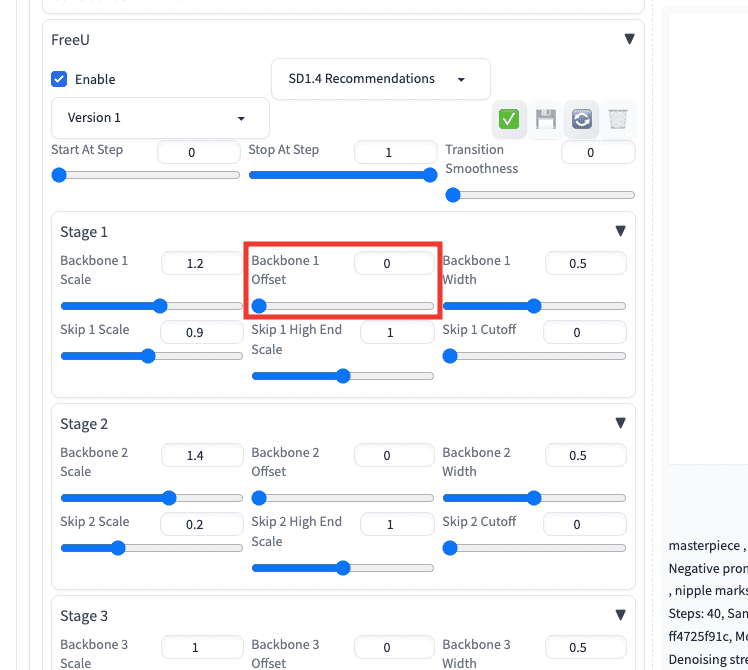
「Backbone 1 Offset」では、「0」と「1」で比較しましたが何も変わっていませんでした。(画像によって変わるかもしれません)
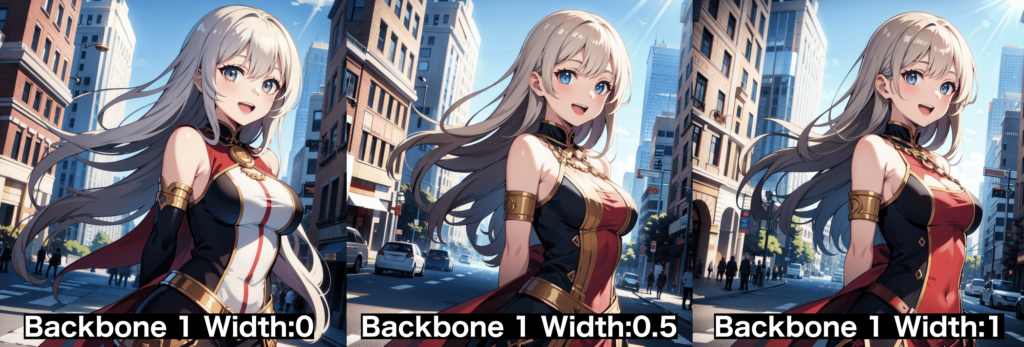
「Backbone 1 Width」では、少し印象が変わっていますね。
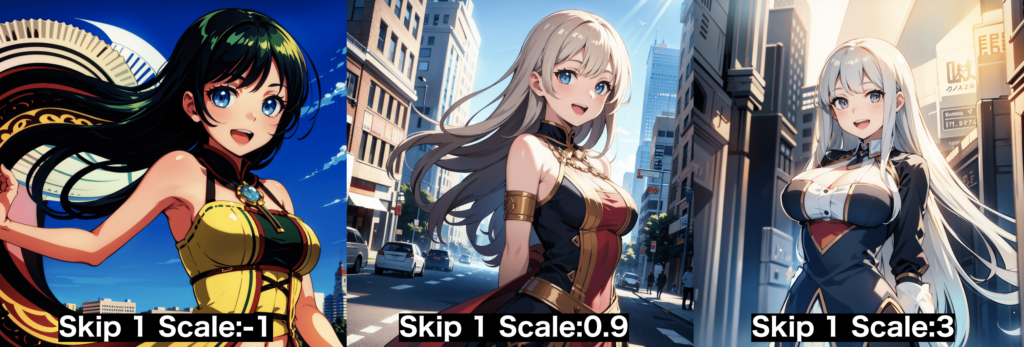
「Skip 1 Scale」では、真ん中の「0.9」が初期設定数値なのですが、左側と右側では全く違う画像が生成されています。
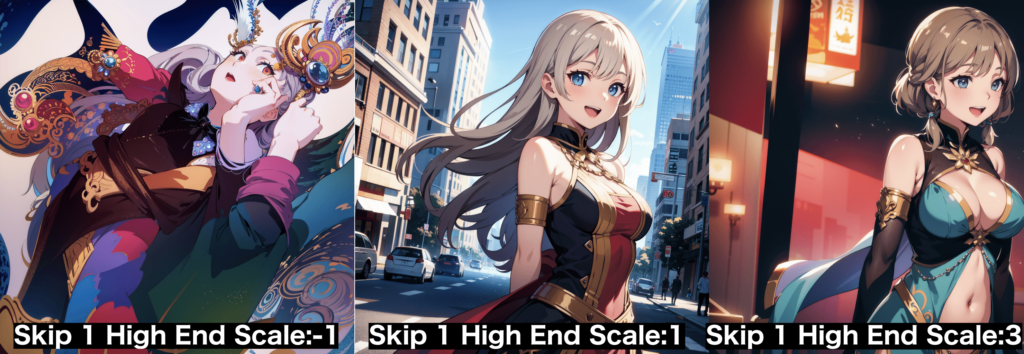
「Skip 1 1High End Scale」でも同様に、違った印象の画像が生成されます。
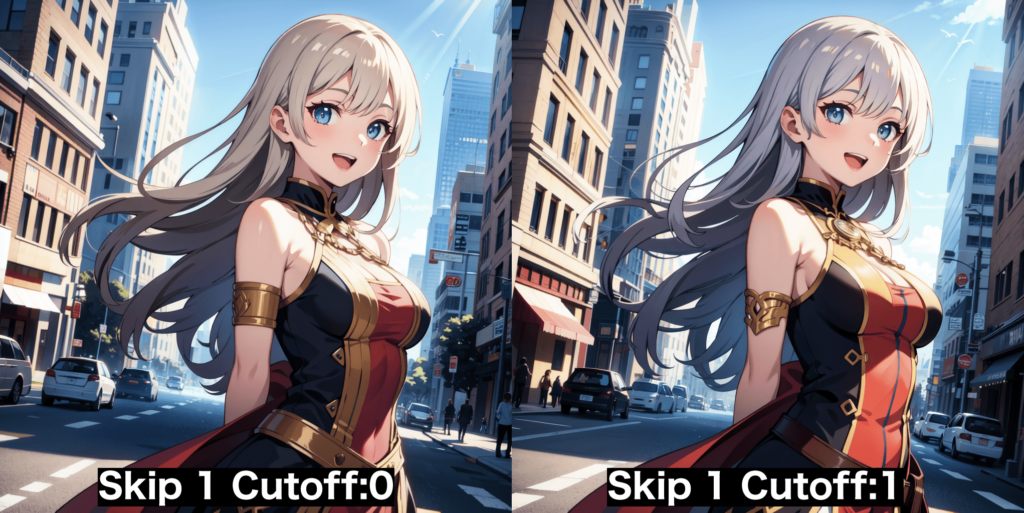
「Skip 1 1Cutoff」では、あまり印象の違いは見られませんでした。
これらの比較画像を参考にして数値を設定してみてください。
Stage項目内にある数値は別に変更しなくても、
そのまま生成するだけで画質が良くなりますから、是非試してみてください!
まとめ

FreeUの使い方について解説しました。
FreeUを使用すると、画質を向上させることが出来るので、クオリティを上げることができます!
是非参考にして画像生成してみてください!
他に高画質・高解像にさせる方法として「Tile」があります。
使い方については、こちらの記事で解説しているので読んでみてください。